The Live-Edge Coffee Table Without the Epoxy: Bowtie Keys, Done Right
Resin rivers are fading. Here is how to flatten a slab, stabilise its cracks with bowtie keys, and finish a table that ages beautifully.
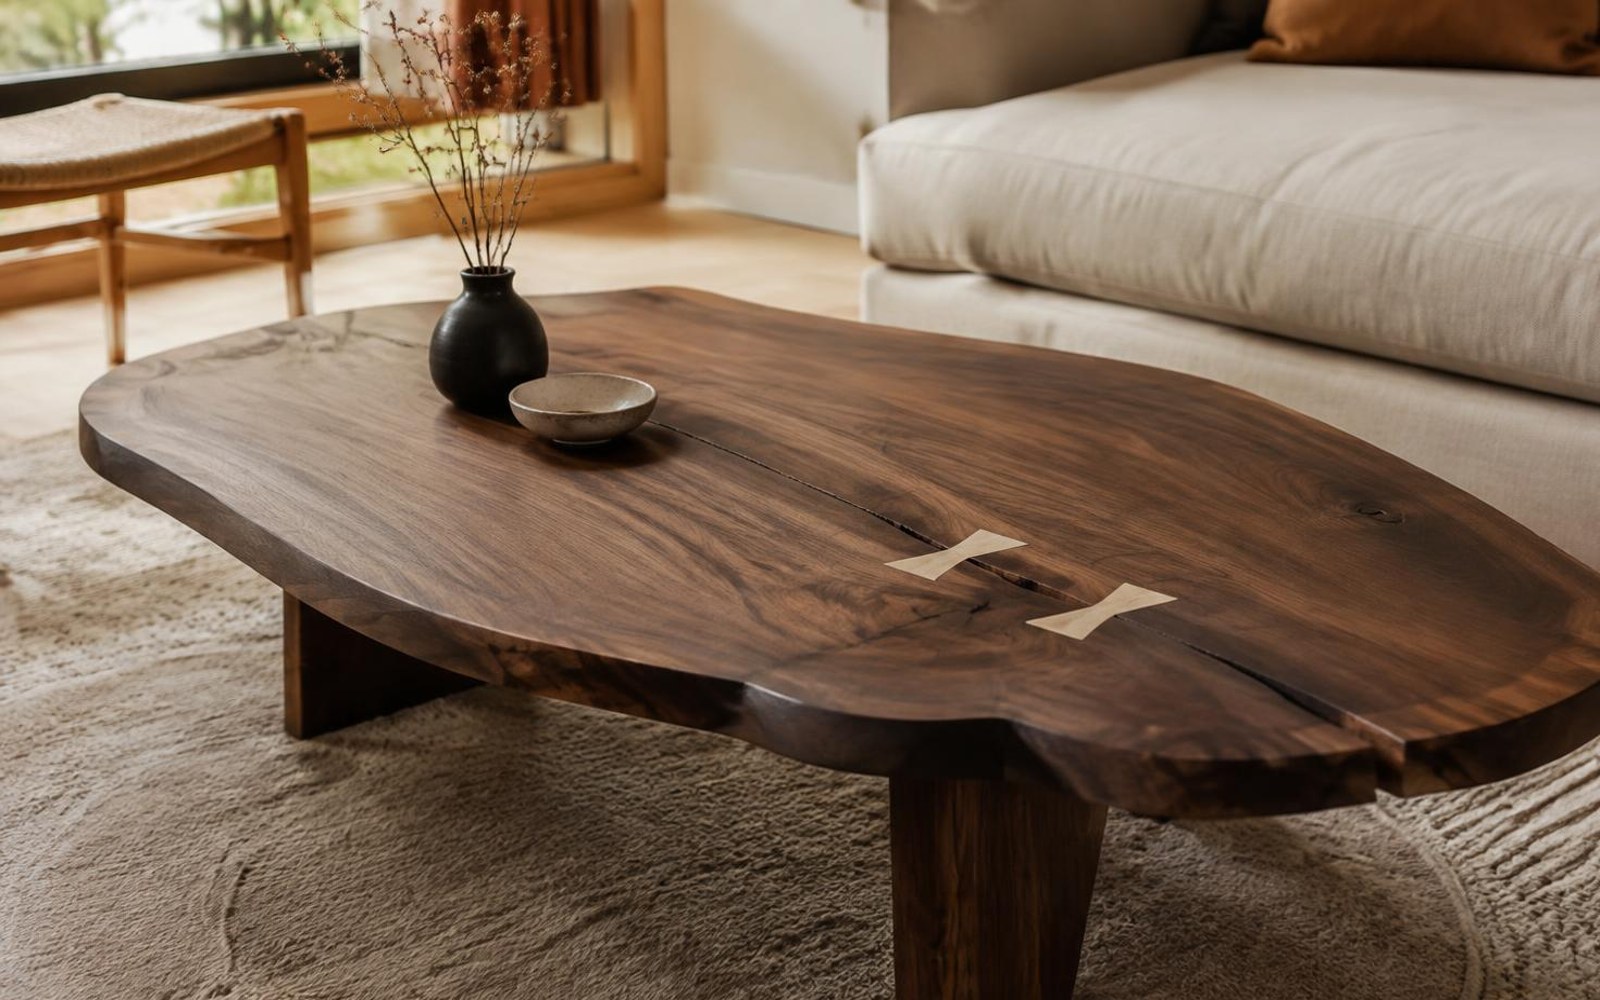
Few pieces of furniture have climbed faster in popularity than the live-edge slab table. Search interest for “live edge coffee table” has stayed near its all-time high for three years, and furniture retailers now charge four figures for slabs that a careful hobbyist can finish in two weekends. Yet the trend has also produced a wave of disappointing work: tables drowned in tinted resin, slabs that cup within a season, and cracks that keep travelling long after the finish has cured.
The better approach is older and quieter. Bowtie keys — also called butterfly keys or dovetail keys — have held cracked timber together for centuries. They are visible, honest, and structurally effective. This guide walks through choosing a slab, flattening it without industrial machinery, cutting and inlaying the keys, and finishing the table so it ages well.
Why the live-edge trend is shifting away from epoxy
The “river table” boom of the late 2010s pushed epoxy into almost every slab project. Designers and makers are now moving in the other direction. Clear resin yellows under ultraviolet light, is difficult to repair, and adds significant cost: a deep pour for a coffee table can consume several gallons. Many buyers have also started to prefer the look of natural timber with minimal intervention.
- Cost: deep-pour epoxy often costs more than the slab itself on small tables.
- Repairability: oiled timber can be spot-repaired; a scratched resin surface usually needs a full re-sand.
- Movement: wood expands and contracts with humidity; a rigid resin block does not, and the two can part.
Bowties solve the main structural problem — stopping a crack from spreading — while leaving the slab free to move across its width.
Choosing and preparing the slab
Moisture content matters more than figure. Ask the yard for kiln-dried stock and check it with a pin meter: interior furniture should sit between 6 and 9 percent. Air-dried slabs above 12 percent will continue to shrink and are the leading cause of failed tabletops. Once home, sticker the slab flat and let it acclimate for at least two weeks in the room where it will live.
What to look for at the yard
- Cracks that stop short of the end grain — they are easier to stabilise.
- Consistent thickness of at least 1¾ inches so flattening still leaves a substantial top.
- Sound bark edges, or bark that can be cleanly removed to the cambium.
- Minimal twist: lay the slab on a flat floor and check every corner.
If you are still deciding on the base and proportions, browse a deep library of woodworking project ideas for slab table designs with measured drawings. Working from a plan prevents the most common slab mistake: a beautiful top on a base that is too narrow for stability.
Flattening without a wide-belt sander
A router sled is the small shop’s answer to slab flattening. Two straight rails sit either side of the slab; a carriage holding the router rides across them, and the slab is shimmed so it cannot rock. Fitted with a 1½-inch surfacing bit, the router takes passes of about 1/16 inch until the face is flat, then the slab is flipped and the process repeated.
Accuracy rules for the sled
- Make the rails from straight aluminium angle or laminated plywood, checked with a reliable straightedge.
- Shim the slab at all four corners and hot-glue the shims so they cannot move.
- Move the router against the bit rotation for cleaner surfaces.
- Wear hearing and eye protection, and run dust extraction — surfacing produces enormous volumes of chips.
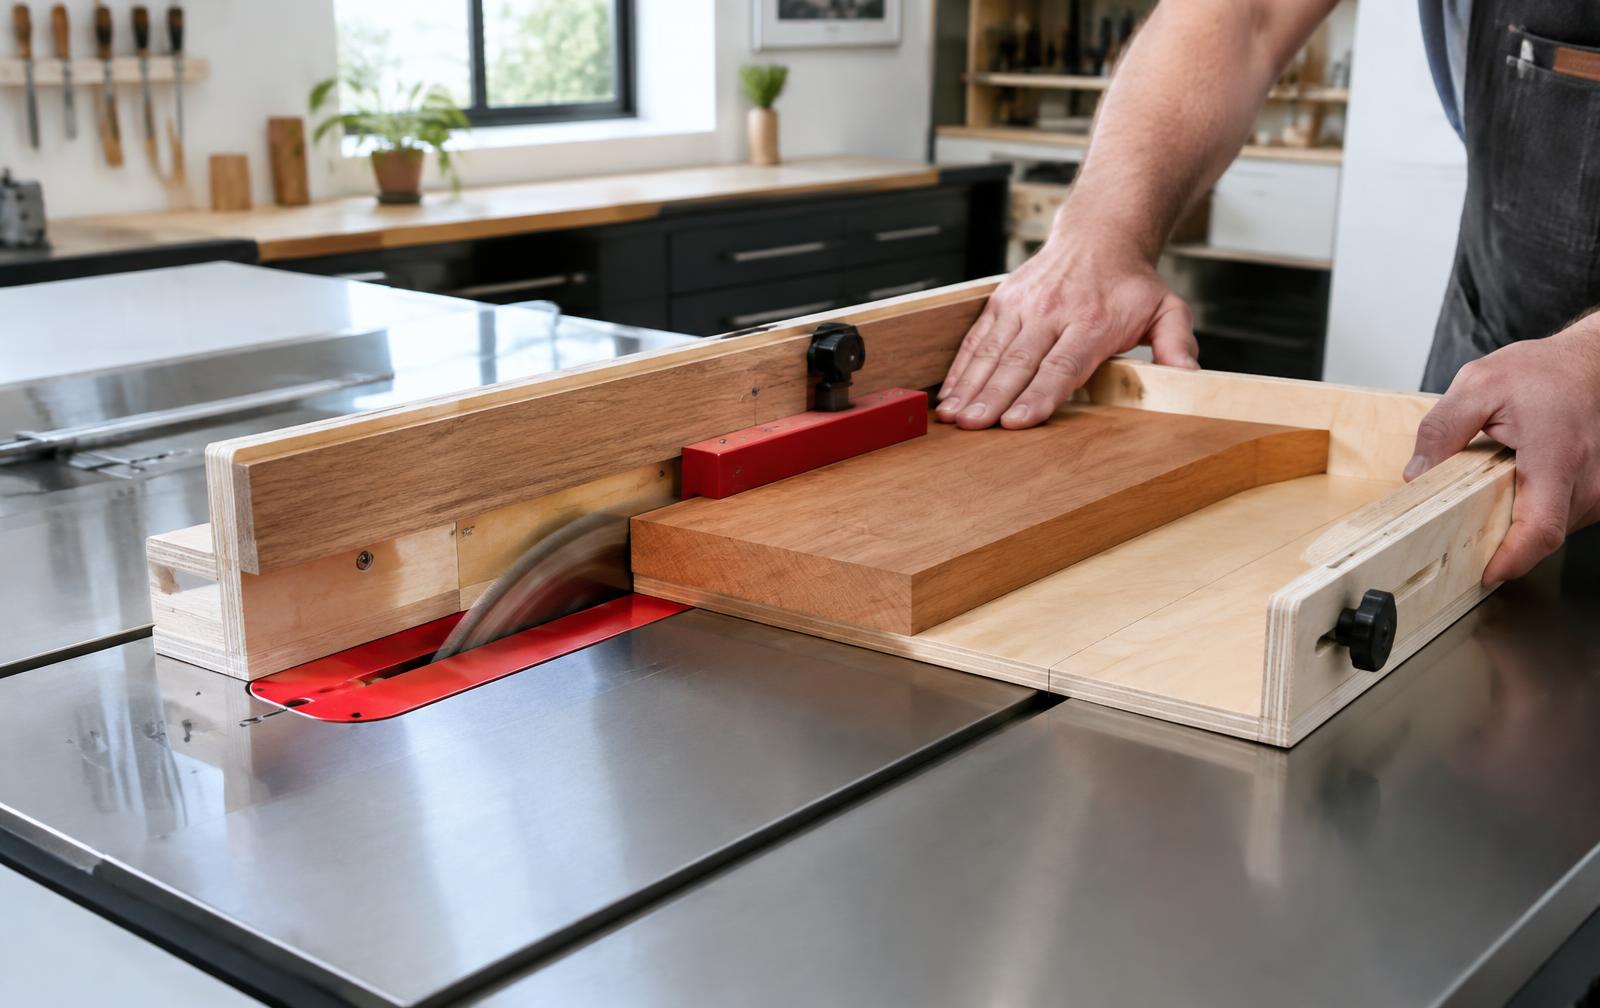
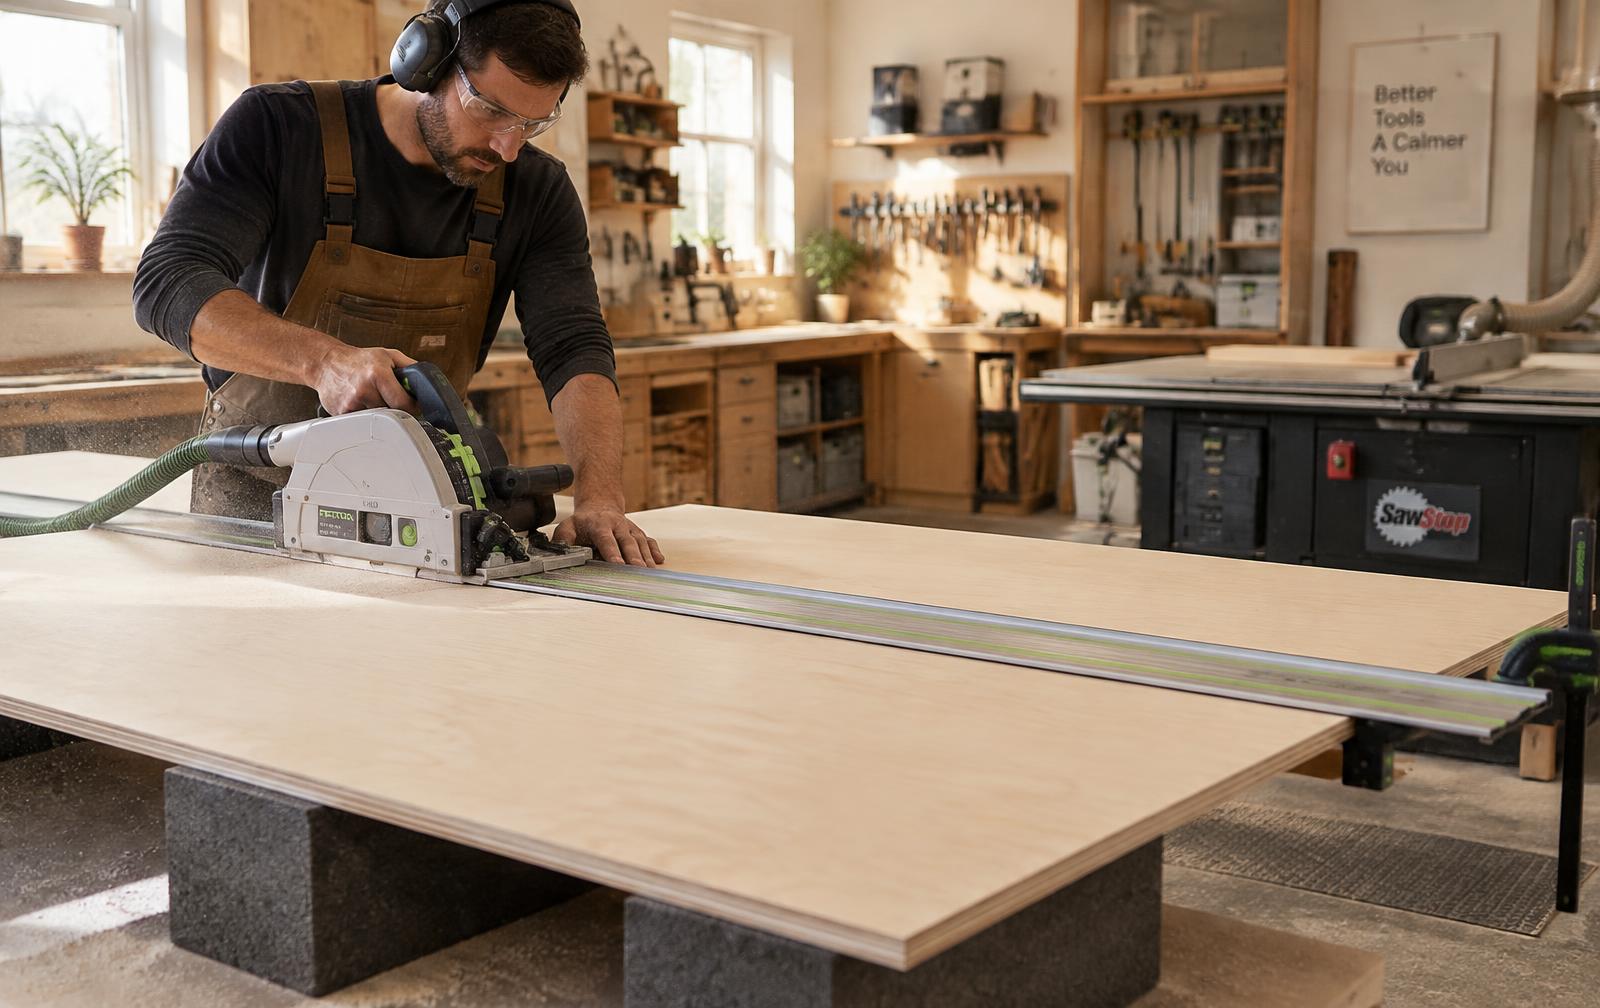
The edges and ends need equally careful work. A track saw on a guide rail gives straight, square slab ends that a circular saw cannot match. If cuts on wide stock keep drifting, a precision cutting setup guide walks through blade selection, rail alignment and the small calibration steps that make long cuts reliable. Our comparison of track saws and table saws explains when each machine suits slab work.
Laying out and cutting the bowtie keys
Choose a stable, contrasting species for the keys: maple or ash in walnut, wenge or walnut in pale oak. Grain should run along the length of the key, across the crack. A typical coffee-table key is about 3½ inches long, 1½ inches wide at the ends, with a waist of roughly ¾ inch and a thickness of ½ inch — inlaid about two-thirds of the slab thickness at most.
The inlay sequence
- Cut keys first, slightly over-thick, with a 10–12 degree taper on each side.
- Place each key over the crack and knife its outline directly onto the slab.
- Rout out the waste freehand to just inside the line using a small straight bit.
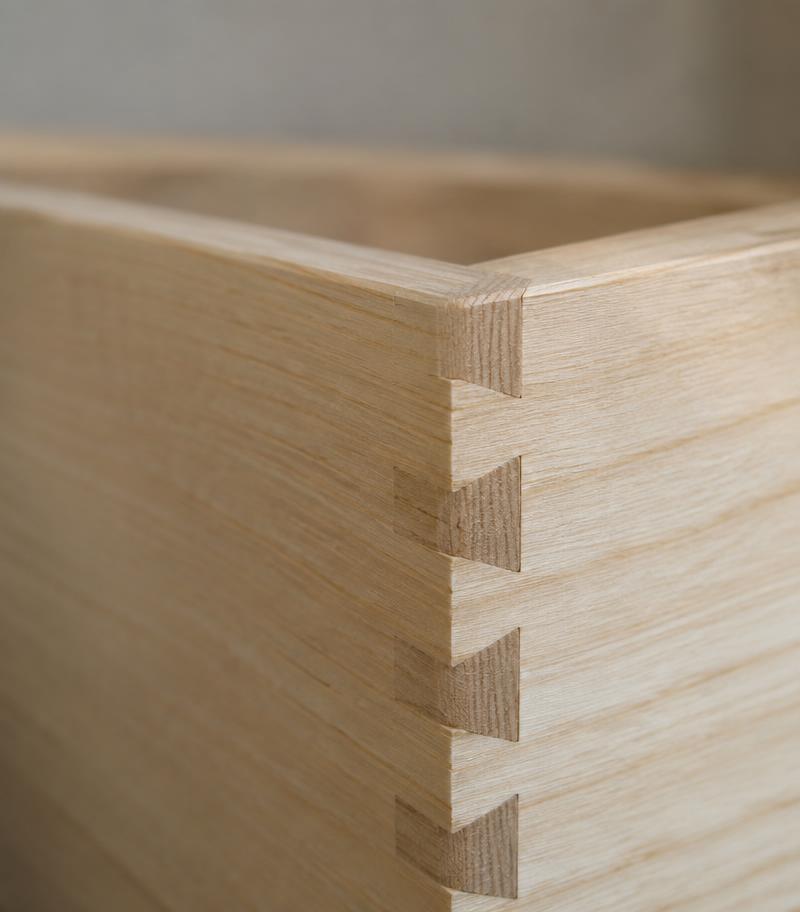
- Pare to the knife line with sharp chisels — the same skill as fitting a dovetail shoulder.
- Glue and tap the key home, then plane it flush once the glue has cured.
Spacing should follow the crack rather than a grid. One key near the end of the crack prevents it from running; a second at its widest point holds the halves in tension. Odd numbers usually look more natural than pairs placed symmetrically.
Building a base that respects movement
A 20-inch-wide walnut slab can move about ⅛ inch across its width between summer and winter. Attach it to the base with figure-eight fasteners, wooden buttons, or slotted steel brackets so that movement is permitted. Never glue or rigidly screw a wide slab to a frame.
Base styles currently trending include solid timber slab legs, sled-style steel bases and Japanese-inspired trestles. Whatever the style, keep the footprint at least 70 percent of the top’s length to avoid tipping when someone leans on an end. Joinery for timber bases is covered in our guide to loose tenons, dowels and mortise-and-tenon joints.
Finishing: keep it honest and repairable
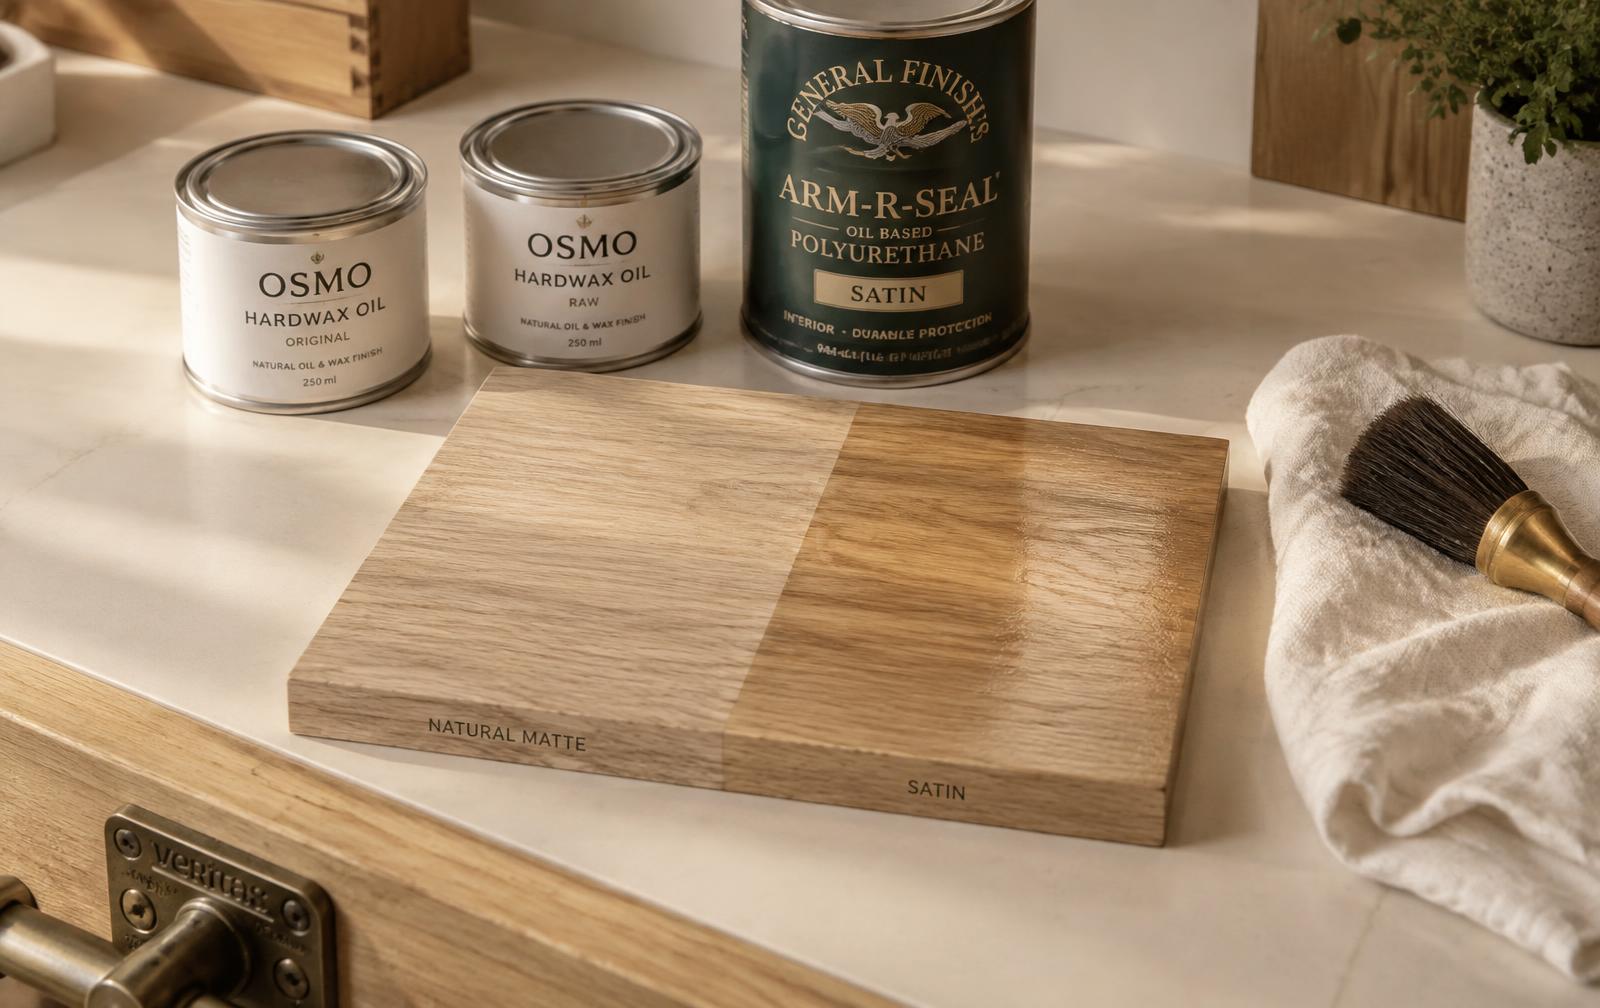
Sand to 180 or 220 grit, raise the grain with a damp cloth, and sand again lightly. A hardwax oil gives a low-sheen, natural feel with good water resistance and can be patched where a coffee mug leaves a mark. For homes with children, two to three coats provide a durable surface without a plastic look. We compare options in hardwax oil versus polyurethane.
Costs and real-world impact
- Kiln-dried walnut coffee-table slab: typically $250–$700 depending on width and figure.
- Router sled materials: $40–$90 if you already own a router.
- Key stock, glue, fasteners and finish: around $60.
- Comparable retail table: commonly $1,500–$4,000.
Beyond the saving, the project builds transferable skills — flattening, inlay, and movement-aware construction — that apply to dining tables, benches and desks. If you plan to build larger pieces, it is worth planning the space as well: detailed shed and workshop plans can help you lay out a building that handles long slabs and big glue-ups comfortably.
Quick summary
Choose a dry slab, flatten it with a router sled, stabilise cracks with contrasting bowtie keys, attach the top so it can move, and finish with a repairable oil. The result is a table that looks considered rather than trendy.
Conclusion and outlook
The live-edge movement is maturing. Expect fewer resin rivers and more restrained work that lets the timber speak — keyed cracks, simple bases, and finishes that can be renewed. That shift favours the home maker, because the skills involved are learnable over a few weekends and the materials are within reach. Build one carefully, and it will likely outlast every piece of flat-pack furniture in the room.