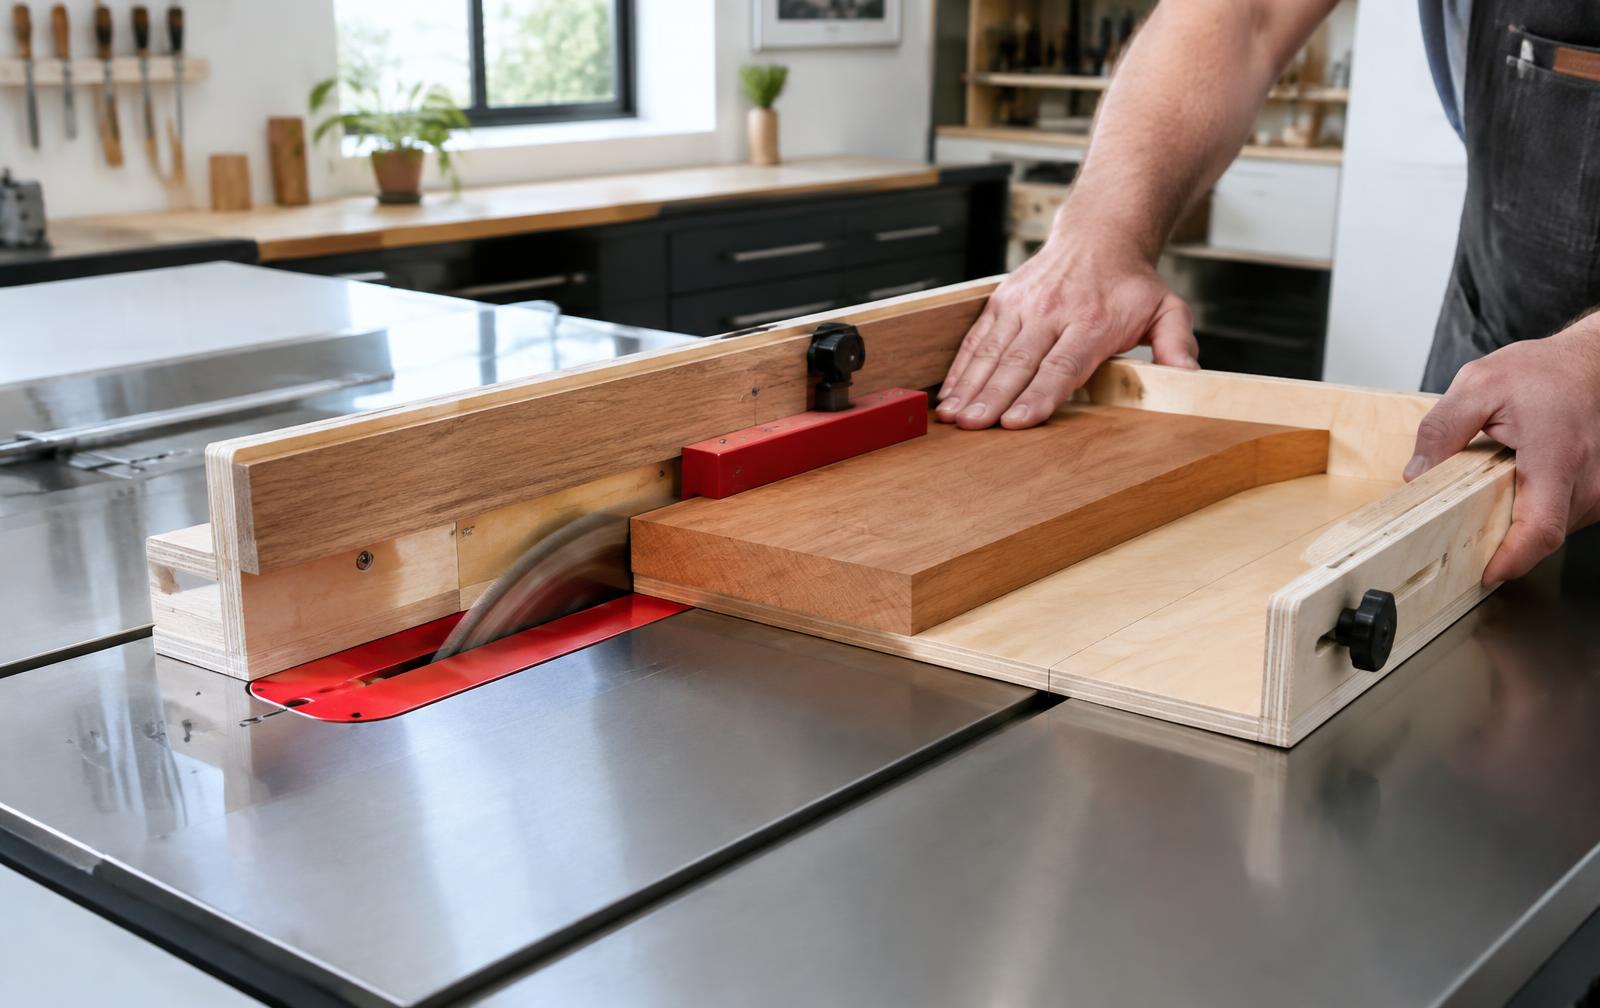
Reading the Shoulder of a Dovetail
The seam you keep trying to hide is the one that should be the loudest.
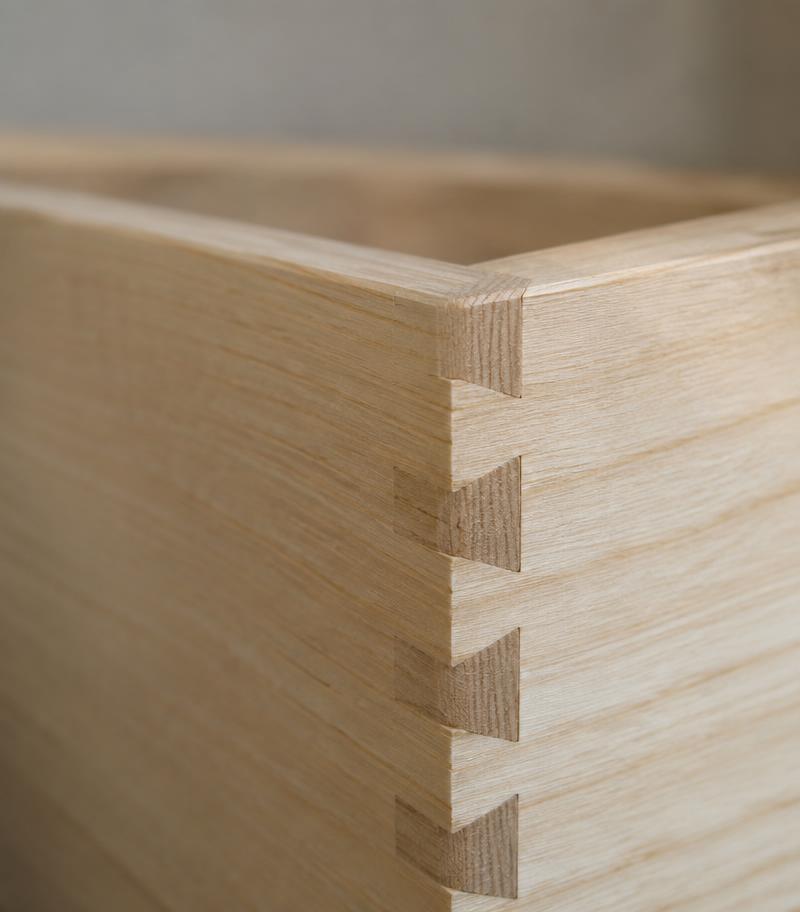
Good woodworking rarely announces itself with drama. It appears in a shoulder that closes cleanly, a door that stays square through the seasons, and a surface that still invites touch years later.
Precision begins before the cut
The most reliable work starts with a reference face and reference edge. Mark them clearly, then make every important measurement from those same two surfaces. Moving between edges compounds small errors. Working from one known corner keeps the geometry honest.
Before a blade meets the board, inspect the grain under raking light. Fibres that rise toward the cutting direction are more likely to lift. Reverse the work or reduce the depth of cut when the surface begins to feel rough. This simple pause protects both the board and the edge tool.
A practical weekend sequence
1. Prepare the stock
Allow lumber to acclimate to the workshop, then flatten one face before thicknessing the opposite face. Straighten one edge before ripping to width. The order matters because each successful operation creates the reference for the next.
2. Prove the setup
Use an offcut to test fence position, blade height, or the fit of a joint. Measure the result rather than trusting the machine scale. If you are still choosing what to build, a deep library of woodworking project ideas is a faster starting point than a blank sketchbook — Woodworking Ideas lays the steps out in order.
3. Work to the line
A marking knife gives a more exact boundary than a pencil for joinery. Remove most waste on the safe side, then pare or plane to the line. The final pass should be light enough that the tool is refining the surface rather than forcing it into position.
Repeatability is not speed. It is the confidence that the next part will match the first.
Safety is part of the finish
Sharp tools, clear floors, dust collection, hearing protection, and eye protection belong to the same system as accurate measuring. For machine operations, follow the manufacturer’s instructions and use guards, push devices, and appropriate support. The OSHA woodworking guidance provides a useful overview of common hazards.
Never make a cut when the work is poorly supported or when your hands would enter the path of the blade. Stop the machine before adjusting a fence or clearing waste. A project can wait; a safe working habit should not.
How to judge the result
Use touch, light, and simple measuring tools. A straightedge reveals hollows. A small square checks shoulders. Raking light exposes torn grain and sanding scratches. Dry-assemble joints before glue so that pressure is used to close the assembly, not to correct poor fit.
- The mating surfaces close without excessive force.
- Parts remain square when clamps are applied.
- Tool marks follow the intended visual rhythm.
- The finish suits the object’s expected wear and maintenance.
Three resources cover the usual gaps: a deep library of woodworking project ideas when you need the next project, a precision cutting setup guide when accuracy is the problem, and detailed shed and workshop plans when the workshop itself is the limit.
The long view
The best workshop improvements are usually modest: a sharper edge, a clearer reference mark, better support, or one test cut before committing. Practised together, these habits make ambitious projects feel calm. They also make the finished object easier to repair and more satisfying to live with.
Choose one operation this weekend and slow it down. Prepare the stock carefully, test the setup, and make the final pass with intention. If accuracy is the part that keeps slipping, working through a precision cutting setup guide will save more time than another new tool.