Loose Tenon, Dowel, or Mortise and Tenon: Which Joint Actually Wins
All three are strong enough for furniture. The real difference is layout time, tooling, and how many joints you have to cut.
Every chair, table, and door frame comes down to the same question: how do you hold two pieces of wood at ninety degrees so that they stay that way for fifty years?
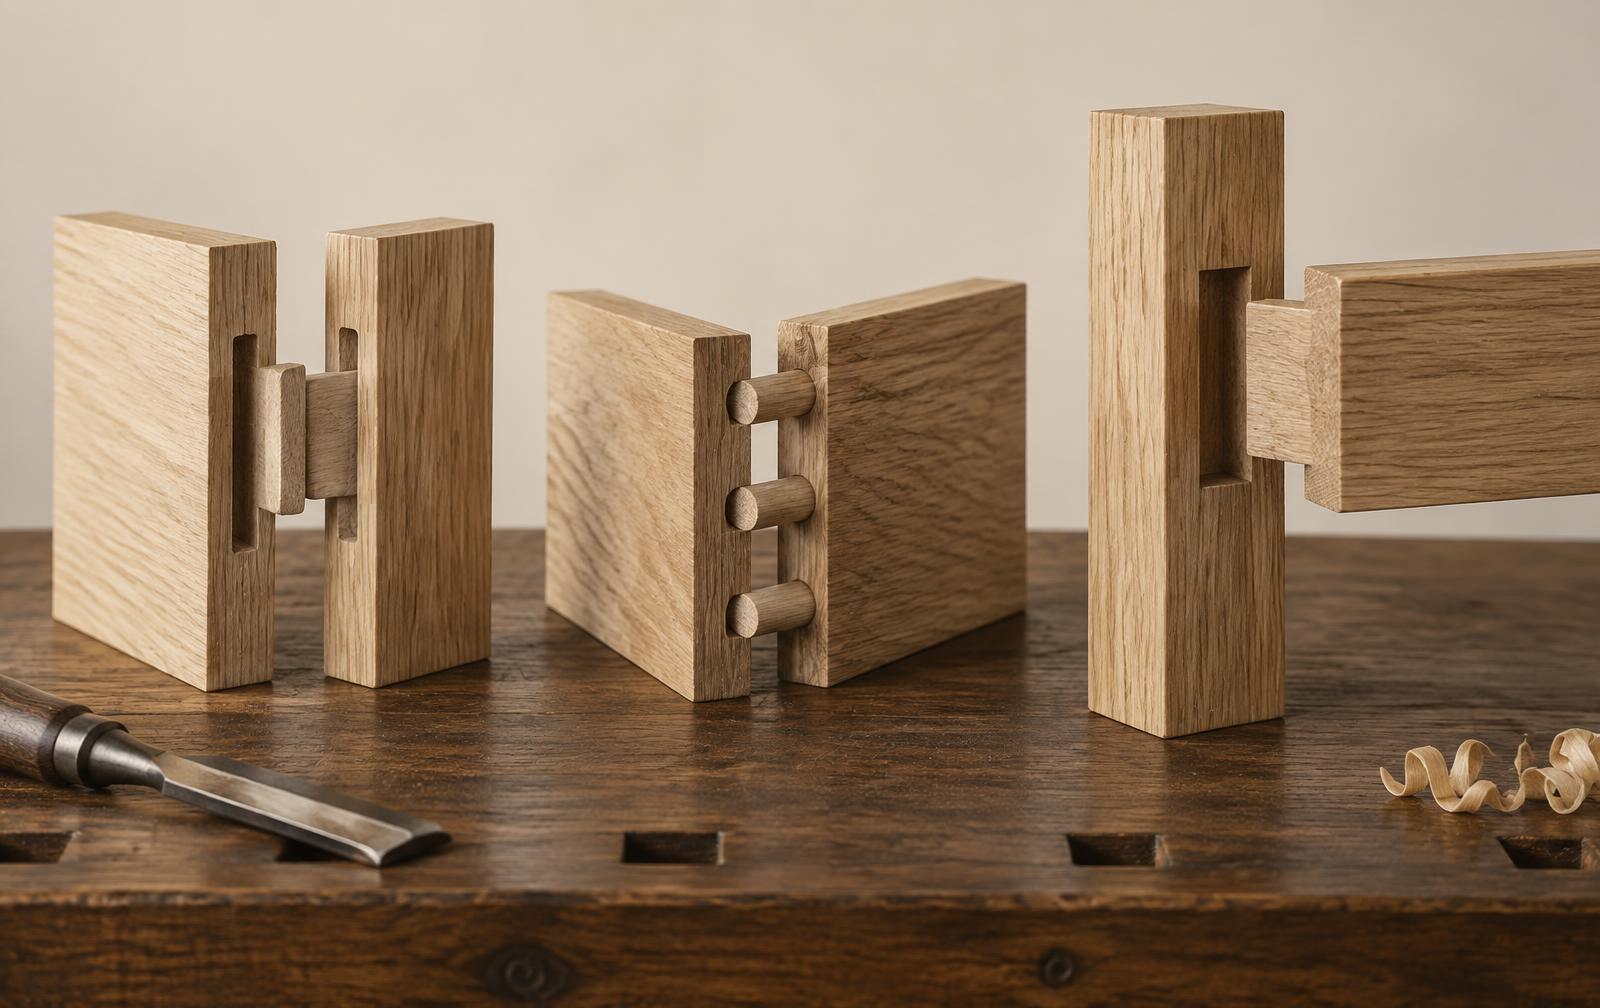
Three answers dominate the modern workshop. The traditional mortise and tenon, cut from the workpieces themselves. The loose or floating tenon, where both parts get a mortise and a separate slip of wood joins them. And the dowel, the simplest of all. Online debate treats them as a hierarchy of virtue. In practice they are tools with different costs, and the right choice depends on what you are building and how many of them you need.
What actually makes a joint strong
Before comparing the three, it helps to know what strength depends on. A well-made joint in furniture rarely fails at the glue line; it fails because there was not enough long-grain glue surface, or because the joint was too shallow to resist racking.
- Long-grain to long-grain contact. Glue bonds side grain strongly and end grain poorly. The cheeks of a tenon do the work; the shoulder does not.
- Depth. A deeper mortise resists twisting. Depth beats width when you must choose.
- Fit. A joint that needs hammering is too tight and will starve of glue; one that rattles has no mechanical resistance at all.
- Grain direction in the tenon. Grain must run along the length of the tenon, or it snaps like a biscuit.
Once those four are satisfied, all three joints are considerably stronger than the wood around them. That is the honest starting point for the comparison.
The traditional mortise and tenon
The tenon is cut as part of the rail; the mortise is cut into the leg. Nothing is added, and the joint can be made with hand tools alone. It remains the benchmark for a reason: the tenon can be made as long as the leg allows, it can be shouldered on all four sides to hide any imprecision, and it can be pegged so that the joint survives even if the glue eventually gives up.
The cost is layout and cutting time. Every joint is a small project in marking, sawing, and paring. A dozuki and a sharp chisel make this genuinely enjoyable, and a well-tuned Japanese pull saw has made hand-cut tenons far more accessible than they were a generation ago. But six joints in an afternoon is good going, and a table has sixteen.
Choose it when: the piece matters, the joint will be visible or pegged, or you want repairability decades from now.
The loose tenon
Here both parts receive a matching mortise and a separate strip of hardwood — the floating tenon — bridges them. Strength testing consistently places it at or very near the traditional joint, because the glue surfaces are the same cheeks in the same orientation. What you lose is the continuity of grain through the corner; what you gain is enormous.
Both mortises are cut with the same setup, in the same operation, with no tenons to cut at all. Layout collapses to a single centre line on each part. The joint is self-aligning during glue-up. And because the tenon stock is milled separately, its grain can be chosen to run perfectly along the length.
You can cut the mortises with a dedicated joiner, a router and a simple jig, or a drill press and a chisel to square the ends. The jig route costs almost nothing and is the reason this joint has spread so quickly through home workshops.
Choose it when: you have a batch of joints to make, the frame is hidden, or the deadline is real.
The dowel
Dowels get unfairly dismissed. A well-executed three-dowel joint in a light frame is entirely sound, and the tooling cost is a drill and a decent jig. The weakness is not the dowel itself but the accuracy of the holes: a dowel offers a small glue area, all of it dependent on two holes being in exactly matched positions and exactly perpendicular.
Get that wrong and the joint gaps, twists, or refuses to close. Get it right — with a self-centring jig rather than freehand drilling — and the result is perfectly serviceable for cabinet doors, shelving frames, and light carcass work.
Choose it when: the loads are modest, the budget is tight, or the joint is one of two rather than one of twenty.
The strongest joint you will ever make is the one you made accurately, not the one with the most impressive name.
A decision you can make in thirty seconds
- Heirloom piece, visible joinery, hand-tool work. Traditional mortise and tenon.
- Eight or more joints, painted or hidden frame, limited time. Loose tenon.
- Light frame, few joints, minimal tooling. Dowels with a self-centring jig.
- Outdoor work. Any of the three, with a waterproof glue and a design that shelters the joint from standing water.
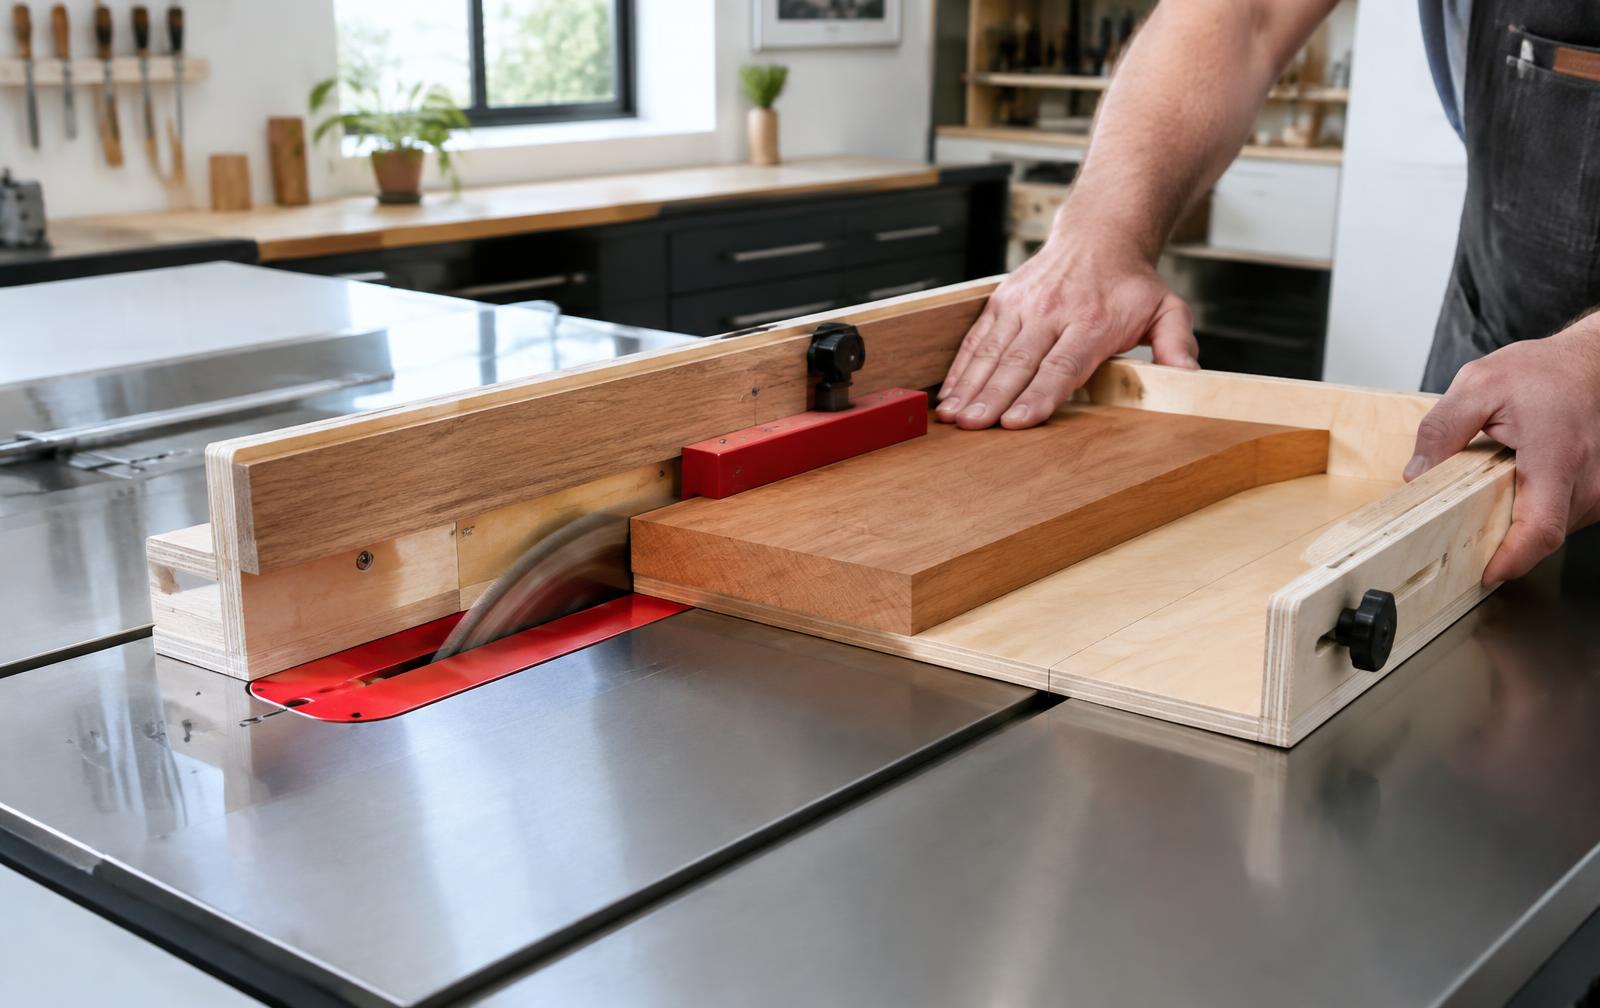
Whichever you choose, the accuracy of the parts before assembly decides the result. Square shoulders and consistent thickness are what let a joint close under light clamp pressure rather than under force. If that is where your work tends to go wrong, a precision cutting setup guide addresses it directly — DIY Precision Cut is built around getting square, repeatable cuts from an ordinary setup. For a steady supply of frames worth practising on, a deep library of woodworking project ideas in Woodworking Ideas covers everything from a simple side table upward, and if the project is the workshop itself, My Shed Plans has detailed shed and workshop plans.
Where this is heading
The trend is unmistakable: joints that separate layout from cutting are winning, because they are the ones an amateur can execute accurately on the first attempt. That is a genuine democratisation of furniture making, and it has not come at the cost of strength.
The traditional joint is not going anywhere either. It remains the more satisfying thing to cut, the more repairable thing to own, and the clearest demonstration that a person made the object. Most workshops will end up using both — the floating tenon for the frames nobody sees, and the hand-cut joint where the work is meant to be looked at.