The French Cleat Tool Wall: A Small-Shop Upgrade That Never Stops Adapting
A modular wall can hold an entire workshop without fixing its future in place. Here is how to lay out, build, and refine one that works beautifully.
The smartest storage upgrade in a small workshop is not another cabinet. It is a wall that can be rearranged whenever the work changes.
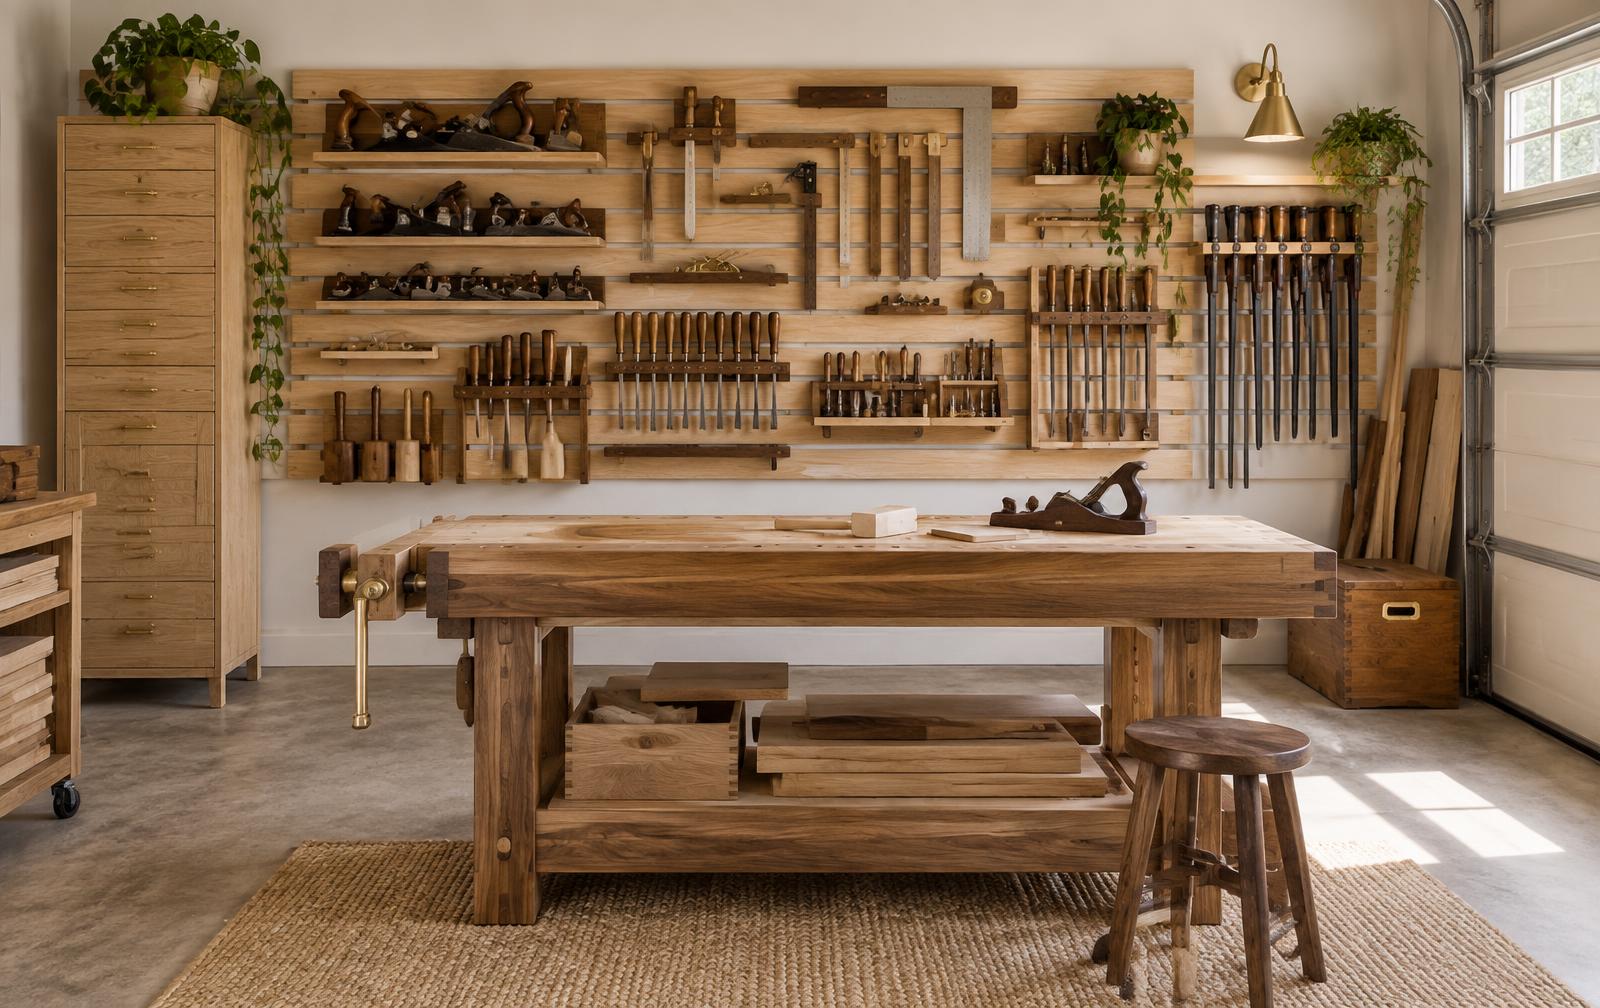
French cleat tool walls have moved from utilitarian shop fixtures to one of the defining ideas in modern workshop design. The reason is not fashion. A continuous row of bevelled timber rails gives every holder a secure mechanical connection without fixing it permanently. Plane racks, drill docks, clamp supports, shelves and charging stations can move in seconds, yet remain solid during daily use.
That flexibility matters in a garage or shed where every square metre must do several jobs. A fixed cabinet records what you owned when it was built. A cleat wall adapts to what you build next.
Why the French cleat is stronger than it looks
A French cleat is simply a strip ripped lengthwise at 45 degrees. One half is fixed to the wall with its bevel rising away from the surface; the matching half is fixed to the holder. Gravity pulls the two bevels together. The more weight the holder carries, the more firmly it seats.
The load is spread along the rail instead of hanging from one screw. When the wall cleats are anchored into studs or properly rated masonry fixings, the system can support hand planes, routers, batteries and even shallow cabinets. The practical limit is usually the holder design, not the cleat.
Plywood or solid wood?
Good 18mm or 3/4-inch plywood is the dependable choice. Its alternating grain resists seasonal movement, it remains straight over long runs, and one sheet yields both wall rails and holder backs. Solid hardwood looks handsome but can cup. Construction timber works if it is dry, straight and free of knots along the bevel.
The dimensions that work
Rip strips between 75 and 100mm wide before cutting the bevel. Leave 150 to 200mm between rows for compact hand tools and 250 to 300mm where larger holders will hang. A 10mm flat at the sharp edge makes the rail safer to handle without reducing its grip.
Plan the wall around movement
Before cutting timber, stand at the bench and rehearse the work. The zone between waist and eye level should hold the tools used in almost every session: square, marking knife, pencils, chisels, a small plane and hearing protection. Heavier machines belong below shoulder height. Rarely used jigs can occupy the top rows.
Do not fill every centimetre. Empty wall is capacity. Leave a broad clear area behind the main work position so long boards can stand vertically and assemblies can overhang the bench without striking a rack.
- Daily zone: layout and edge tools reachable without taking a step.
- Machine zone: batteries, chargers and compact power tools grouped near an outlet.
- Long-tool zone: clamps and saws at the sides, where they will not crowd the bench.
- Reserve zone: at least one empty rail for the next jig or project-specific holder.
Build the backing structure correctly
Find every stud and mark its centre. Fix a level plywood backboard first if the wall is uneven, masonry, or likely to change later. The backboard distributes loads and allows cleats to be screwed wherever the layout requires. On a framed wall, use structural screws long enough to pass through the cleat, wall lining and well into the stud.
Set the lowest rail level, then use identical spacer blocks to position every rail above it. This is faster and more accurate than measuring each gap. Check level every few rows so a small error does not multiply toward the ceiling.
Make holders that earn their space
The best holders are boringly specific. A square rack should present the handle first. A plane shelf needs a lip deep enough to stop a tool sliding but low enough to lift it cleanly. A drill dock should accept the tool with its working bit removed. Every holder needs enough back height to prevent it tipping away from the wall when the tool is pulled forward.
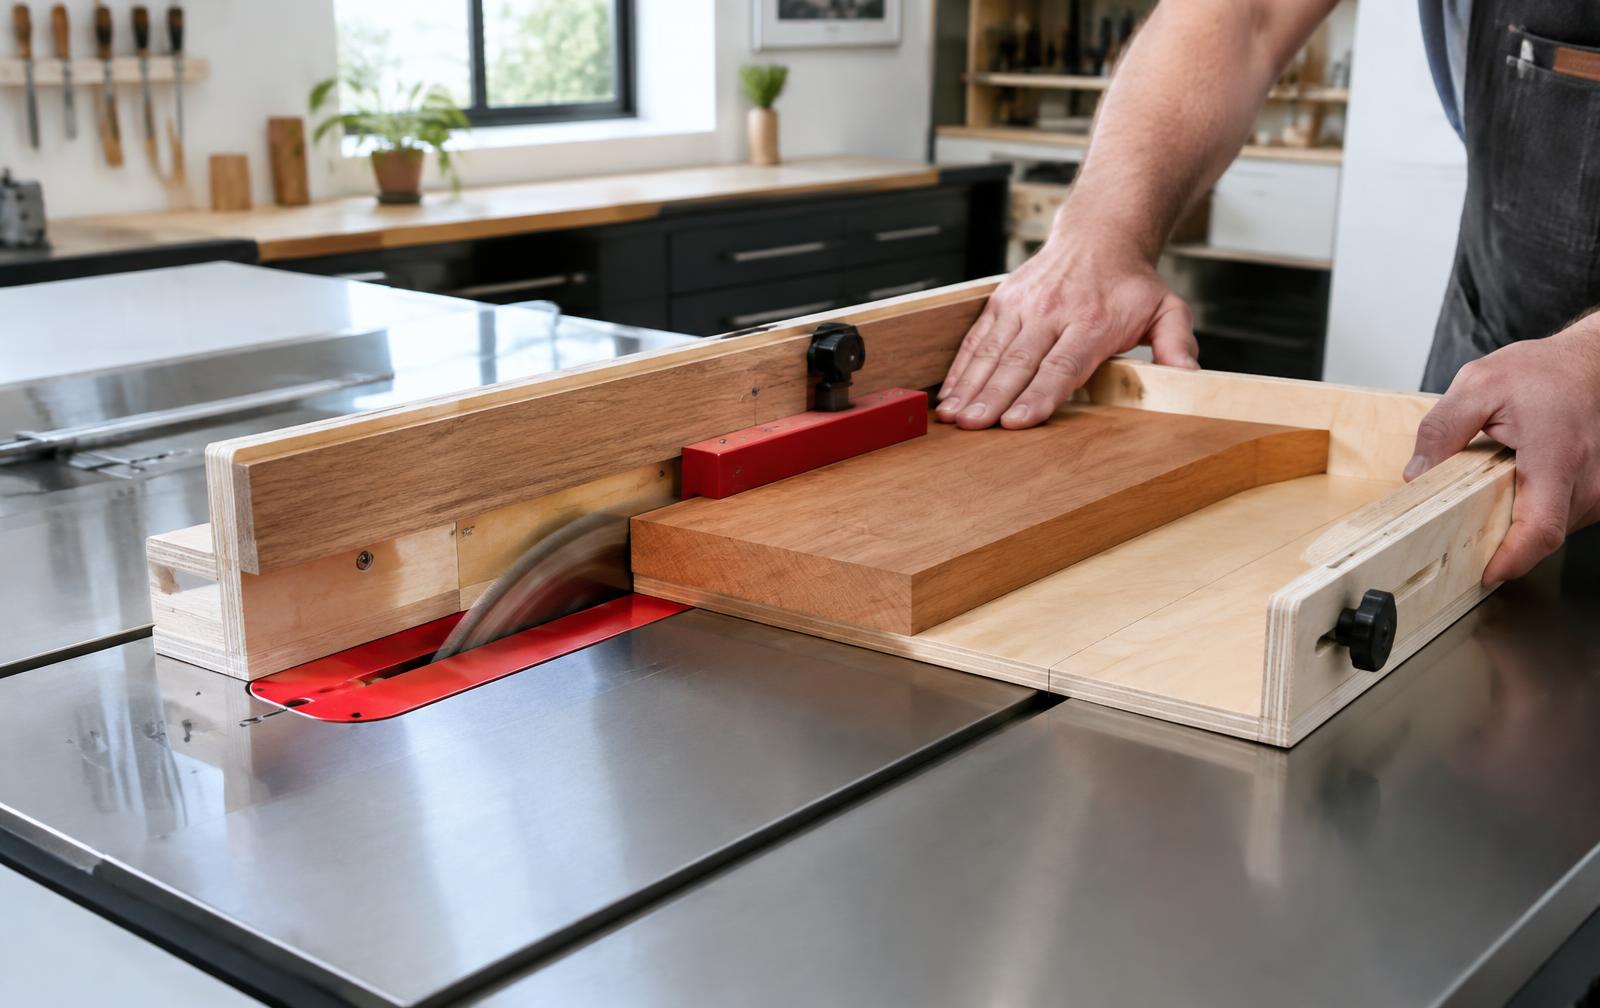
Start with cardboard templates. They reveal awkward hand clearances before plywood is cut. Then batch the repetitive parts with a reliable saw setup. If square, repeatable cutting is the weak point in your shop, a precision cutting setup guide is the relevant companion resource.
Five holders worth building first
- A narrow shelf with a front lip for planes and measuring tools.
- A slotted rack for chisels, files and screwdrivers.
- A two-level battery and charger dock with cable management.
- A horizontal clamp rack positioned at the wall edge.
- A shallow project tray that can move from wall to bench intact.
What it costs and what to avoid
A wall covering roughly 2.4 metres by 1.2 metres can be built from one or two sheets of plywood, a box of structural screws and a modest amount of finish. The expensive part is time, and overbuilding holders is where most of it disappears. Make the simplest form that controls the tool safely, use it for a month, then refine only what irritates you.
Avoid sharp exposed bevels, overloaded top rows, and holders so wide that rearranging one tool means moving six others. Never rely on drywall anchors for heavy equipment. Keep chargers ventilated and follow their manufacturer’s clearance guidance.
A storage system is successful when putting a tool away is easier than leaving it on the bench.
A system that grows with the workshop
The cleat wall is especially useful when a shed workshop is still evolving. If you are deciding how the entire room should be laid out, detailed shed and workshop plans helps settle the shell before storage is added. For projects that give the wall a real mix of tools to support, browse a deep library of woodworking project ideas .
Design the wall as a working map
A useful wall reflects sequence. Measuring tools belong where stock first reaches the bench. Chisels and mallets belong beside the vise. Drills, drivers and frequently used bits should share one charging area. This arrangement cuts walking and searching, but more importantly it preserves concentration. The less often a maker breaks focus to find a tool, the less likely a layout mark or machine setting is forgotten.
Lay the tools on the floor before making holders. Arrange them by operation, photograph the result, then reproduce those groups on the wall. Allow space around handles for gloved hands and around sharp tools for safe removal. Test the most common movements at night as well as in daylight; shadows can make a visually elegant rack frustrating to use.
Use visual order without making a museum
Consistent holder widths and one material palette make a wall feel calm. That does not mean every gap must align. Tools differ, and forcing them into a rigid grid wastes space. Repeat a few details instead: the same plywood thickness, the same eased front edge, and small handwritten or printed labels where sizes are easy to confuse. Finish holders with a clear low-sheen coat so glue and dust wipe away.
Engineer holders for real loads
A cleat engages through downward weight, but a tool pulled outward can lever the holder away from the wall. Tall backs, low centres of gravity and a small lower spacer prevent rocking. Wide cabinets may need two cleats so the back remains parallel to the wall. Heavy holders should span more than one stud and use glued, screwed joints rather than pins alone.
Before loading an expensive plane or router, test the holder with more weight than it will normally carry. Pull it forward from the most disadvantageous point. Check that the rail does not flex, the holder does not rotate and the lower spacer remains in contact. This modest proof test catches weak grain, missed studs and screws placed too close to a plywood edge.
Control sharp edges and stored energy
Chisel edges should face a closed bottom or protective strip, never an open hand path. Hand saw teeth need a slot that prevents neighbouring tools brushing them. Clamps should sit so a loose jaw cannot drop. Batteries belong away from direct sun, heaters and finishing materials. A wall full of tools is efficient only when reaching for one never exposes the user to another.
Adapt the system for renters and changing spaces
Where dozens of wall holes are unacceptable, mount the cleats to two or three tall plywood panels and fasten each panel at a limited number of structural points. The panels can move to a new shop intact. Freestanding versions are possible too: a stout frame with a broad base can carry cleats on both sides, creating a compact tool island. It must be braced against tipping and kept out of machine travel paths.
In damp garages, leave an air gap behind the backboard and keep its lower edge clear of the floor. Seal all plywood edges, especially end grain. Tools stored against a cold outside wall can collect condensation before the room feels damp, so monitor relative humidity and avoid enclosing metal tools in unventilated pockets.
A weekend build schedule
Friday evening is enough to inventory tools, mark studs and settle the zones. On Saturday, cut and finish the backboard and rails, then install the complete field while access is clear. On Sunday, make only the first six holders: layout tools, chisels, planes, drills, clamps and a project tray. Use the system for several weeks before building more.
That pause is important. The first arrangement is a hypothesis. Daily work reveals whether the square belongs to the left of the vise, whether the charger cable catches long stock, and whether a plane shelf is one hand-span too high. Because the wall is modular, those discoveries cost seconds instead of demolition.
Maintenance that protects the investment
Twice a year, unload the heaviest holders and inspect screws, plywood laminations and wall fixings. Vacuum the top bevels, where compacted dust can stop a holder seating fully. Retighten loose hardware and retire holders whose slots have become enlarged. After changing the location of a heavy cabinet, confirm that its new rail section is equally well anchored.
The wall should also lose tools. If an item has not moved for a year, place it in secondary storage or pass it on. Open space is not an unfinished system; it is evidence that the system still has room to respond. The most modern part of a French cleat wall is not its appearance but its refusal to become permanent.
Modern workshops are becoming smaller, quieter and more deliberate. Modular storage fits that direction because it preserves options. Build the rails accurately, make only the holders you need now, and allow the wall to record the way your craft develops rather than the way a catalogue thinks it should look.