Build a Crosscut Sled That's More Accurate Than Your Miter Gauge
The one jig every table saw owner should build first — with the five-cut squaring method and the safety details most builds skip.
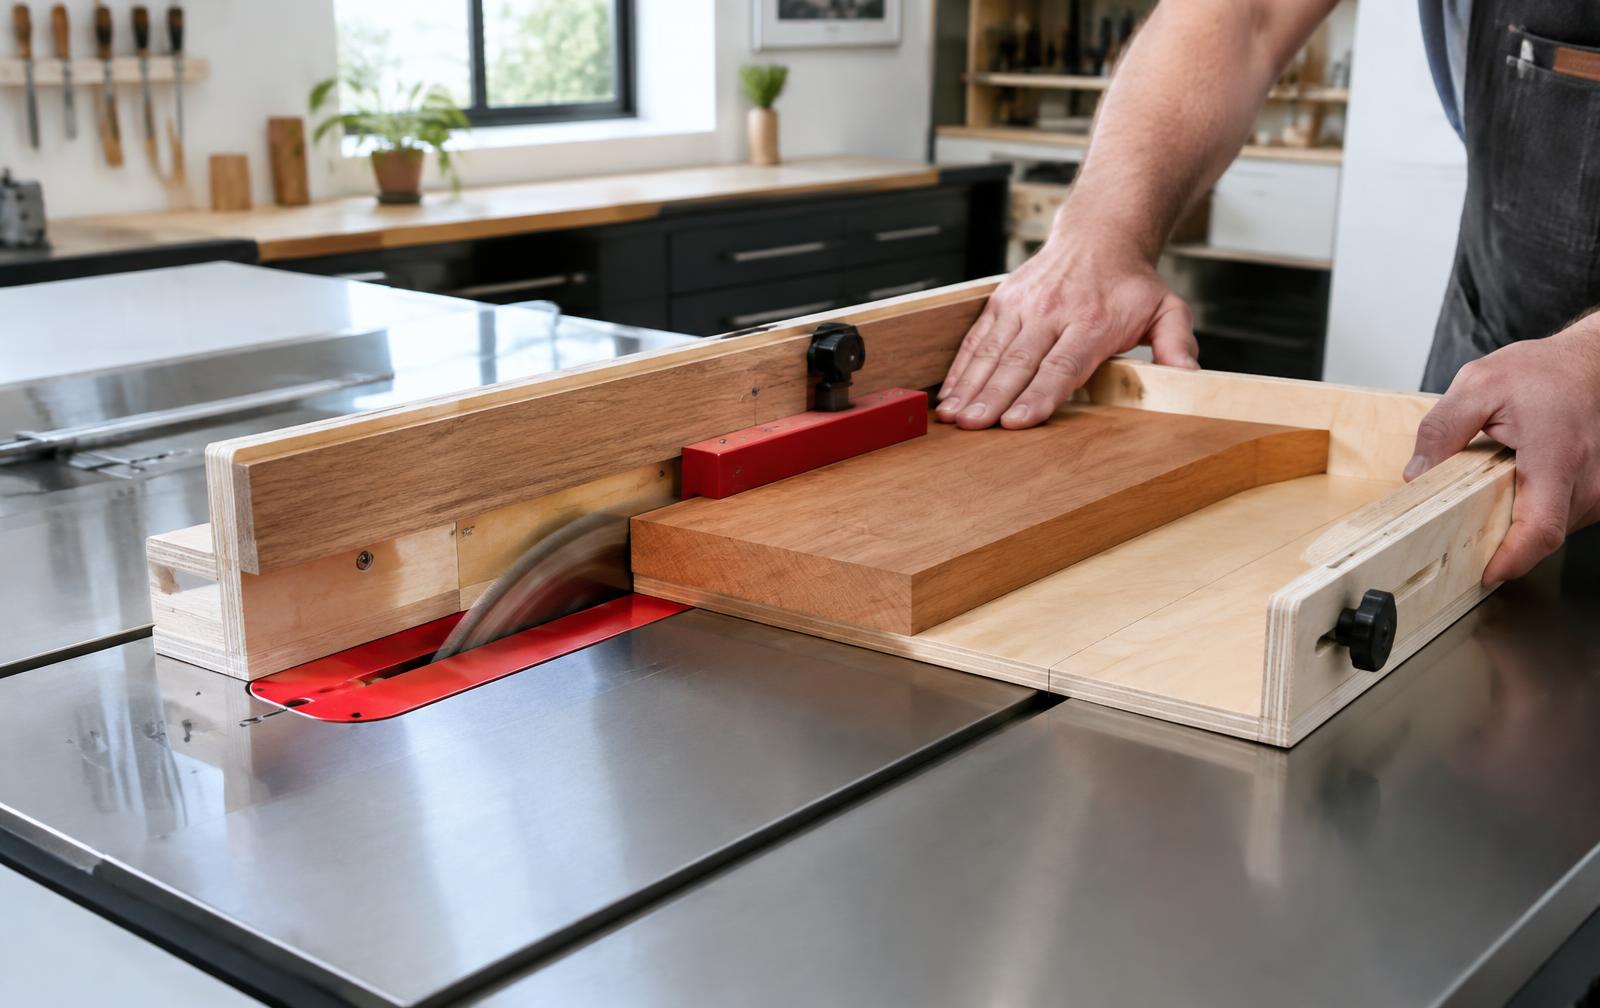
Ask experienced woodworkers which jig they would rebuild first after a workshop fire, and the crosscut sled almost always tops the list. Video searches for “crosscut sled build” spike every autumn as hobbyists move indoors for furniture season, and for good reason: a sled turns a table saw from a rip machine into a precise, safe crosscutting station capable of square cuts on wide panels.
This guide covers materials, runner fitting, the five-cut squaring method, safety details that many online builds skip, and the upgrades worth adding once the basic sled is working.
Why the sled beats the stock miter gauge
The miter gauge supplied with most saws has a short fence, a loose bar and a single point of support. The workpiece can rotate during the cut, and wide boards hang unsupported. A sled carries the workpiece on a flat base that slides with it, so there is no friction against the saw table and nothing to drift.
- Support: the whole board rides on the sled base.
- Accuracy: a long fence squared by the five-cut method is extremely precise.
- Safety: hands stay well away from the blade and the offcut is supported.
- Zero-clearance kerf: the sled base backs the cut and reduces tear-out.
Materials and dimensions
Baltic birch plywood in ½-inch thickness makes a flat, stable base. For most contractor and cabinet saws, a base of roughly 24 by 30 inches handles panels up to 22 inches wide. Fences are best made from two laminated layers of ¾-inch plywood, about 4 inches tall at the front and 5 at the rear, with a raised hump where the blade exits.
Cut list
- Base: ½-inch Baltic birch, 24 × 30 inches.
- Front and rear fences: laminated ¾-inch plywood, 30 inches long.
- Runners: quartersawn hardwood or UHMW plastic, sized to the miter slots.
- Guard block: 2 × 4 × 6 inches, glued to the rear fence where the blade exits.
Prefer to start from a measured drawing? A deep library of woodworking project ideas includes jig plans with cut lists, which saves an evening of drafting.
Fitting runners that slide without slop
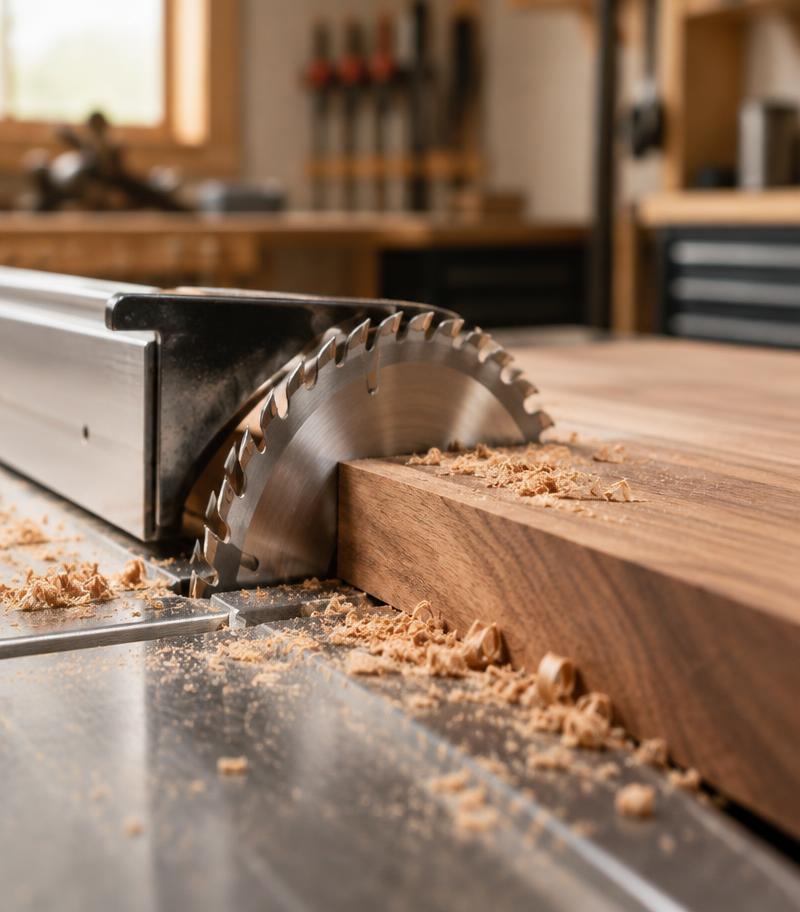
Runners are the foundation of accuracy. Mill them so they slide freely in the slot with no side play, and slightly below the slot depth so the sled rests on the saw table, not on the runners. Place a few coins in each slot, lay the runners on top, apply glue or double-sided tape, and set the base on top aligned with the blade. Once secure, screw from above with countersunk screws.
Wax both the runners and the underside of the base. If the sled binds through seasons, scrape — don’t sand — the runner edges. Before building any jig, confirm the blade is parallel to the slots; our ten-minute table saw blade check walks through the process.
The five-cut method for a truly square fence
Fix the rear fence first; it only needs to be straight. Attach the front fence with one pivot screw at the end, then square it roughly with a reliable square and clamp the other end. The five-cut method then exposes and multiplies any error so it can be measured precisely.
- Prepare a square-ish piece of plywood about 12 inches across and number each edge.
- Cut edge one against the fence, rotate the piece counterclockwise, and cut edge two.
- Repeat for edges three and four, then cut edge one again, removing a strip.
- Measure the strip’s width at each end with calipers.
- Divide the difference by four to find the error per cut, adjust the fence, and repeat.
An error of less than 0.002 inch across the strip is excellent. Once square, add four or five screws along the fence. If you want a step-by-step calibration routine for every saw cut, a precision cutting setup guide covers fences, squares, and blade choice in detail.
Safety details many builds miss
According to the U.S. Consumer Product Safety Commission, table saws are linked to tens of thousands of emergency-room visits every year. A sled improves safety only if it is built with the blade path in mind. Review the OSHA table saw guidance before your first cut.
- Glue a solid guard block over the blade exit so the blade never emerges from the rear fence.
- Paint or mark the blade path on the front and rear fences as a no-hands zone.
- Add a stop block on the saw table so the sled cannot travel past the guard.
- Never use the rip fence as a length stop while crosscutting on the sled.
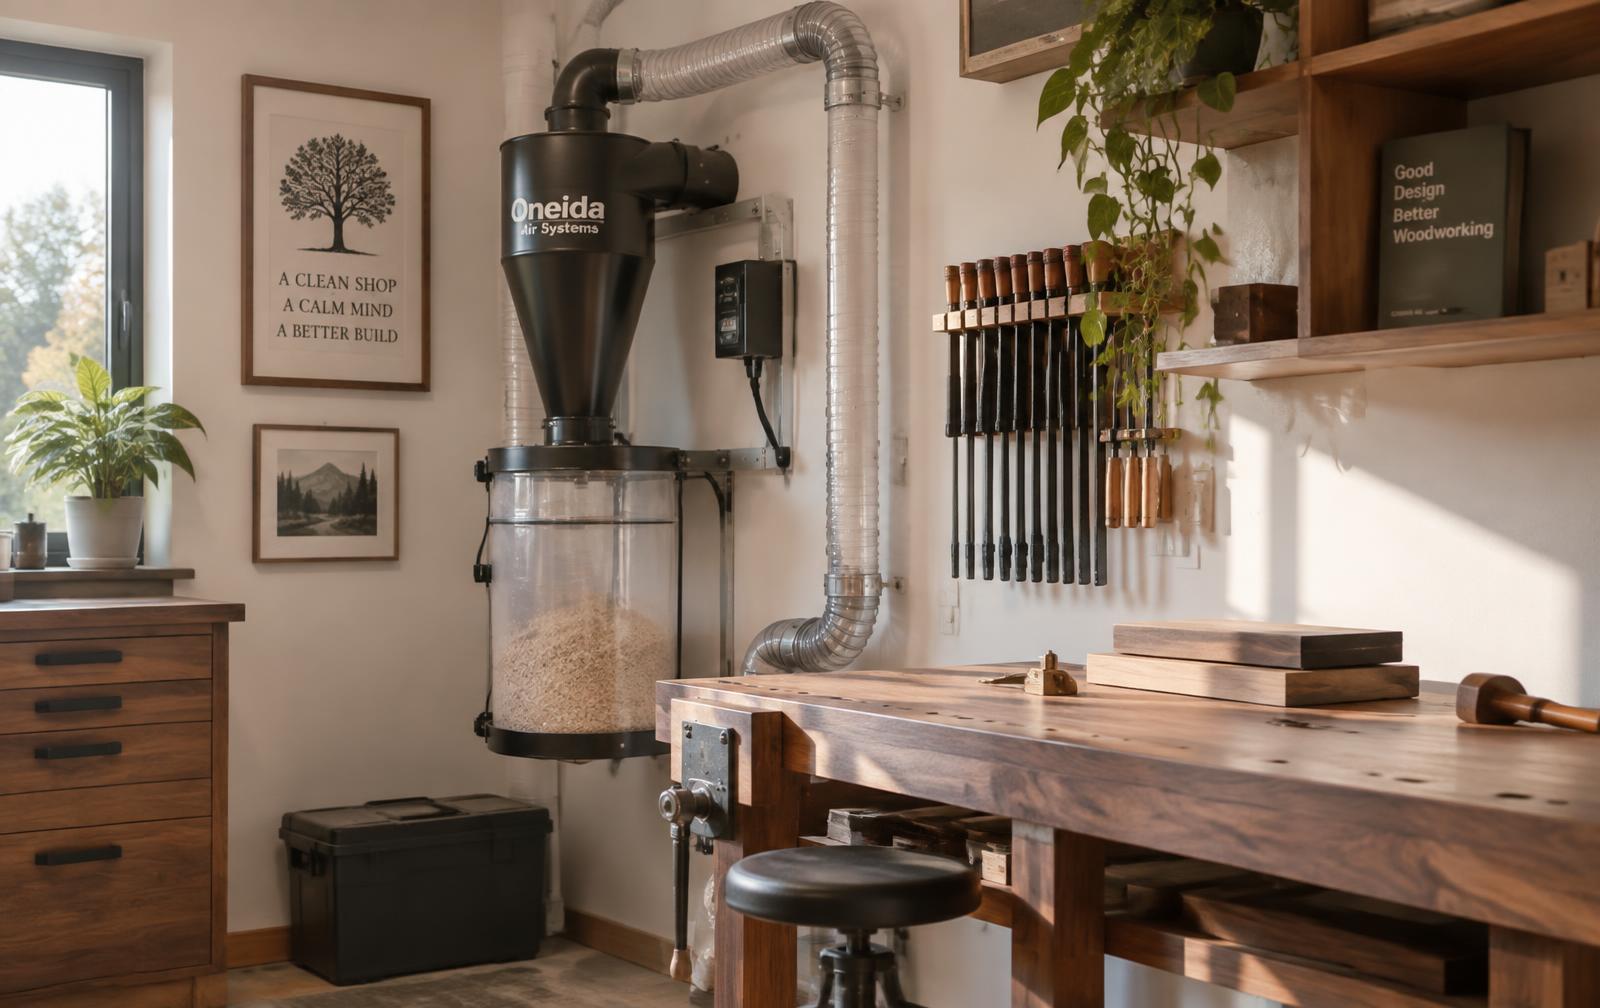
Upgrades worth adding
Stop blocks and T-track
A length of T-track set into the front fence accepts a flip stop for repeatable parts — ideal for drawer sides and box components. Add a stick-on tape measure calibrated to the kerf.
Hold-down clamps
Toggle clamps keep small parts still and hands even farther from the blade.
Dedicated sleds
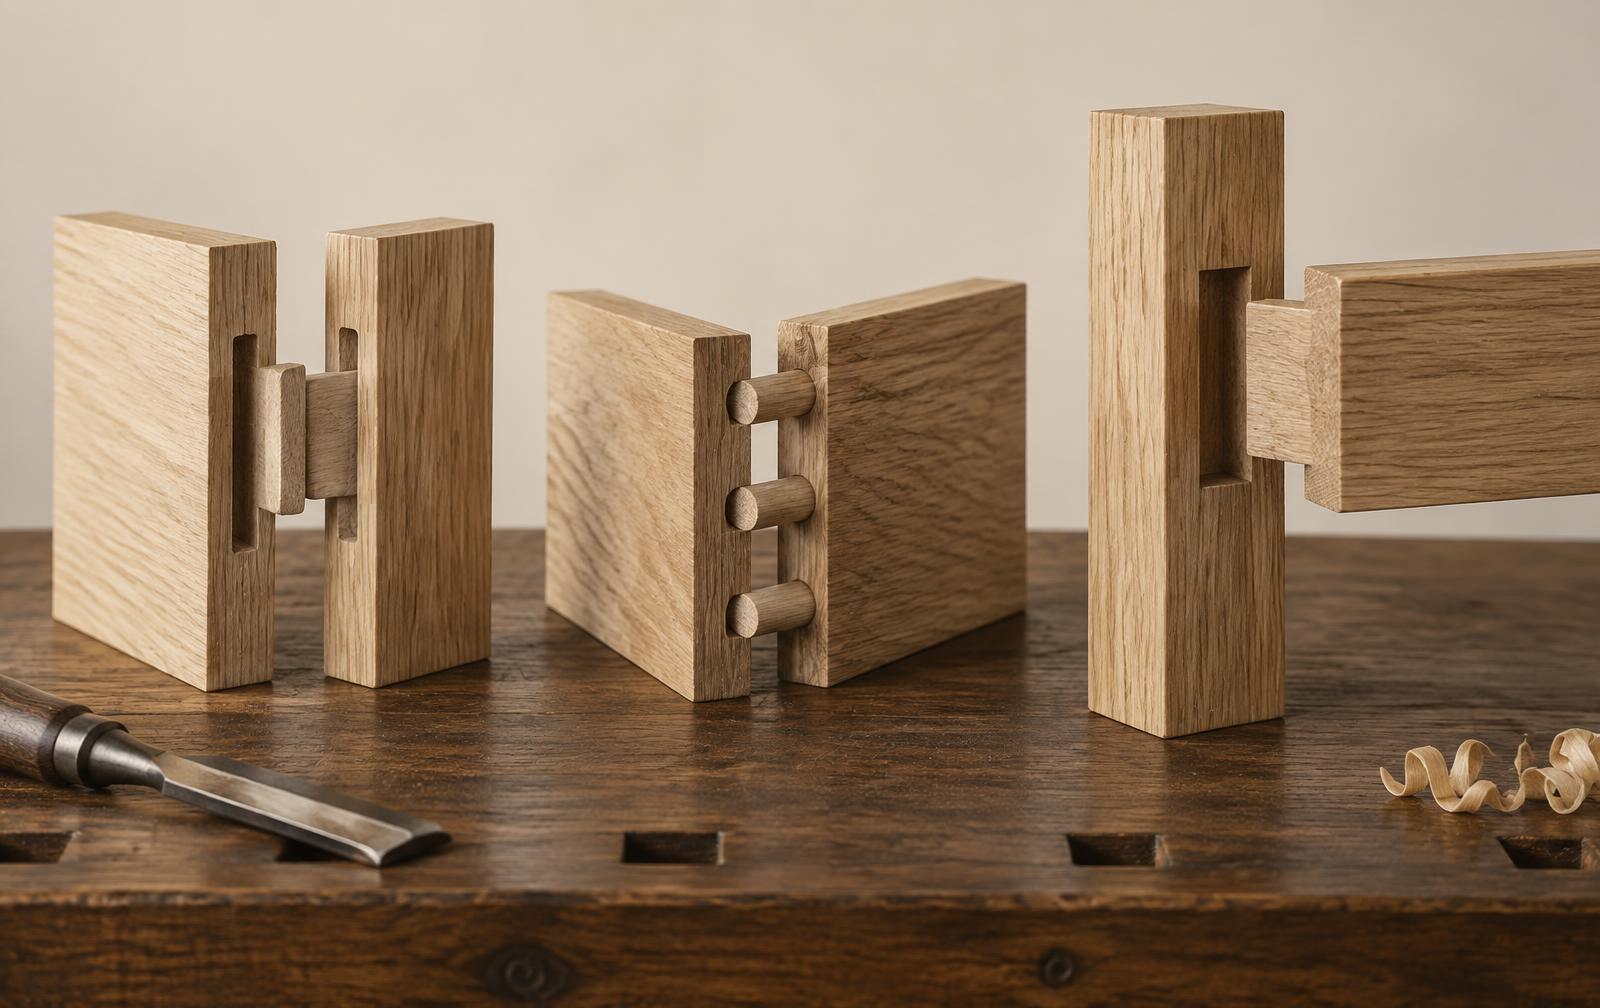
Once the first sled proves itself, many makers build a 45-degree miter sled for picture frames and a small sled for joinery such as tenon cheeks. For the joints themselves, compare techniques in our guide to which joint actually wins.
Where the sled lives
A sled is bulky. Hang it on a wall cleat beside the saw so it stays flat and ready; our French cleat tool wall guide shows how. If your shop is outgrowing the garage, detailed shed and workshop plans help you plan a building with space around the saw for infeed, outfeed and jig storage.
Quick summary
Build the base from Baltic birch, fit hardwood runners with no side play, square the front fence with the five-cut method, and build safety into the blade path. Add stop blocks once it is accurate.
Conclusion and outlook
Saw technology continues to advance — flesh-sensing brakes and better guards are becoming more common — but the sled remains the simplest accuracy upgrade a woodworker can make. It costs little more than a sheet of plywood and an afternoon, and it improves every crosscut that follows.