The Torsion Box Workbench: Dead-Flat, Dirt-Cheap, Built in a Weekend
Two thin plywood skins over a glued internal grid give you a flatter top than a hardwood slab, for a fraction of the cost and weight.
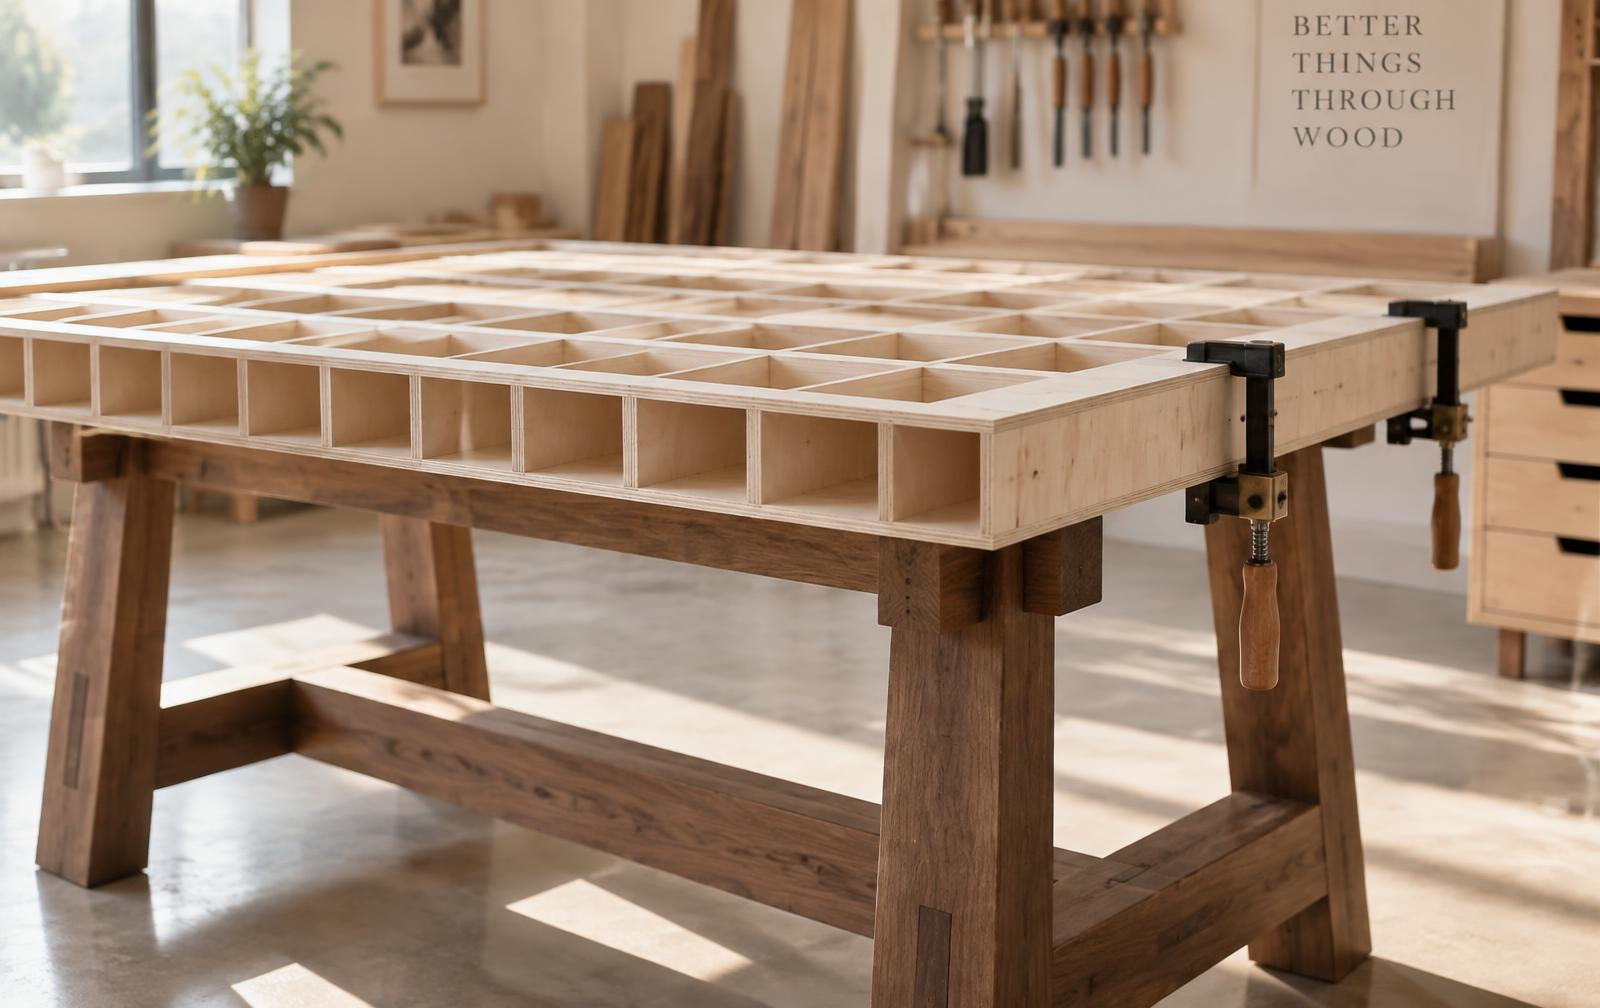
The most requested workbench of the moment is not a laminated maple slab with a leg vice. It is a hollow plywood box — lighter, cheaper, and in practice flatter than the traditional bench it is quietly replacing.
Torsion box construction is not new. It has held up aircraft floors, hollow-core doors and museum display plinths for decades. What has changed is who is building them. As more woodworking moves into garages, sheds and spare rooms, the appeal of a top that stays flat without a hardwood budget or a jointer has become obvious. The principle is simple: two thin skins glued to an internal grid of ribs resist bending and twisting far better than either part could alone.
Why the geometry beats the timber
A solid slab resists bending because it is thick. A torsion box resists bending because its two skins are held apart. Load the top and the upper skin goes into compression while the lower skin goes into tension; the ribs stop them sliding past each other. Move the skins further apart and stiffness rises sharply, which is why a 100 mm deep box built from 12 mm plywood outperforms a 50 mm hardwood top of several times the weight.
The second advantage matters even more in a small shop: stability. Solid timber moves with the seasons, cupping and twisting as humidity swings. Plywood is dimensionally calm by comparison, and a closed box restrains what little movement remains. A bench that was flat in February is still flat in August, which is the entire point of a reference surface.
What the numbers look like
- Skins: 12 mm birch plywood, top and bottom.
- Ribs: 12 mm plywood strips, 100 mm wide, on a 150 mm grid.
- Finished depth: about 124 mm including both skins.
- Typical top size: 1500 x 750 mm from two standard sheets.
- Weight: light enough for two people to lift onto a base.
The one rule that decides everything
A torsion box is only as flat as the surface you assemble it on. The box has no memory of its own during glue-up; it takes the shape of whatever is underneath and then locks that shape in permanently. Concrete floors, a pair of trued sawhorses with a temporary plywood deck, or an existing flat bench all work. What does not work is building it on carpet, on an uneven bench, or on trestles that have never been checked with a straightedge.
Spend the first hour of the build establishing that reference. Lay a long straightedge across the surface in several directions, shim until the gaps disappear, then mark the shims so nothing shifts overnight. Everything after this is straightforward assembly.
Cutting is the real work
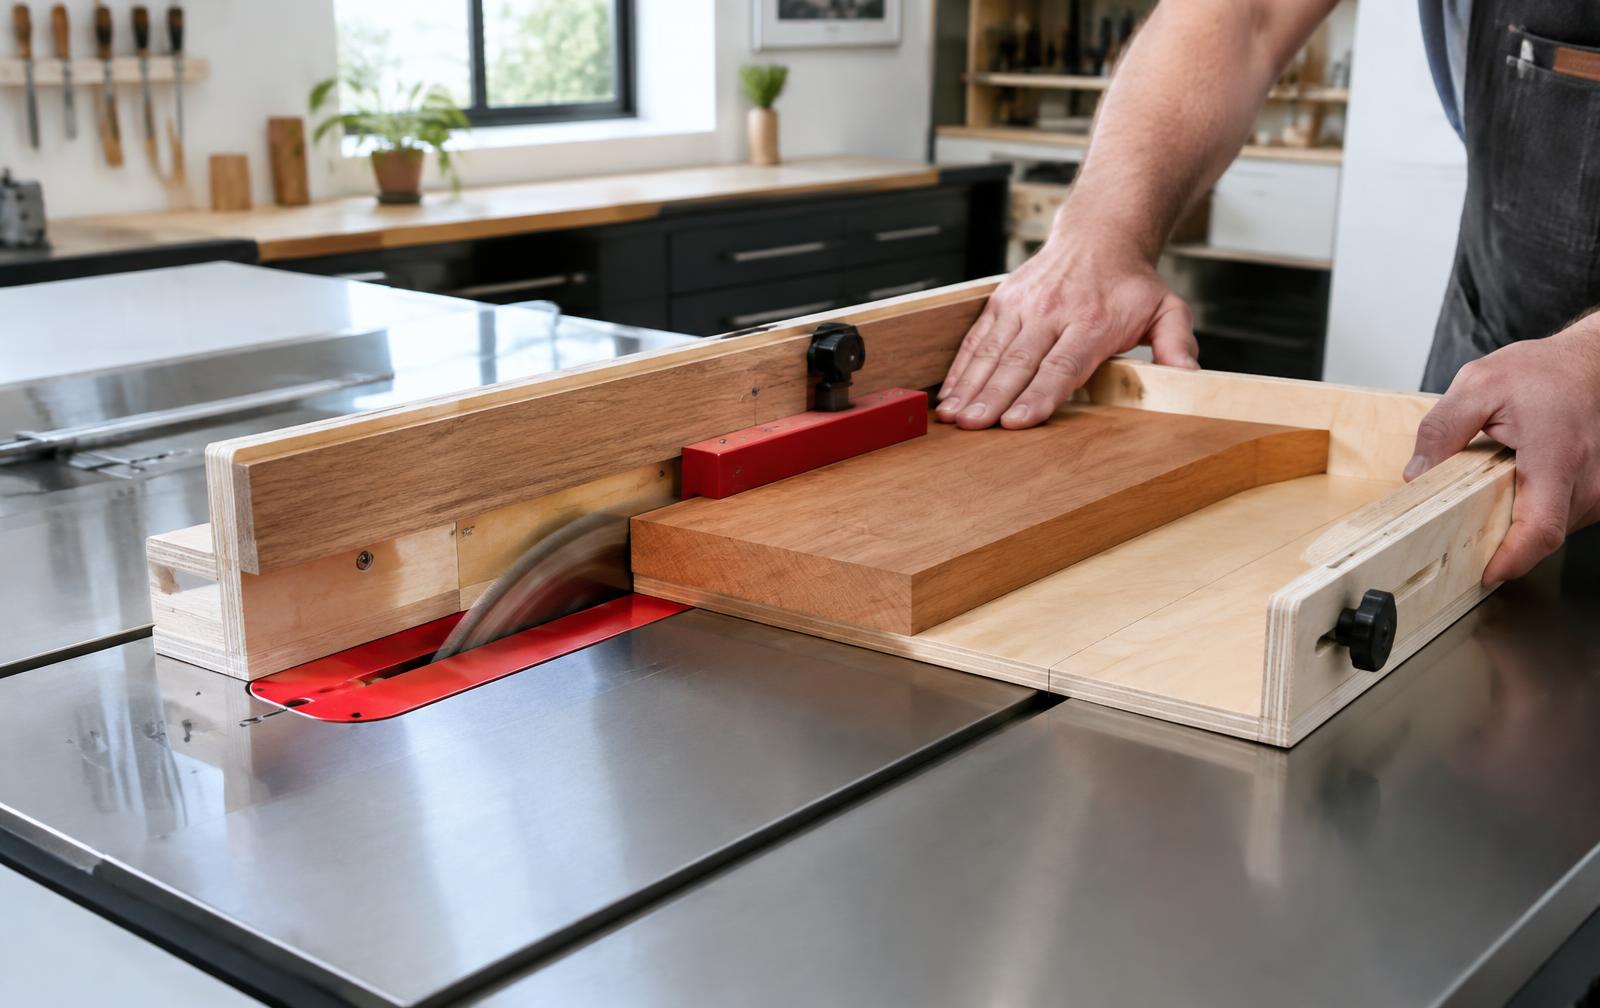
There is almost no joinery in this project. There is, however, a great deal of cutting: two large skins and thirty or more identical ribs, all of which must be the same width and square on the ends, or the grid will not sit flat. This is where small-shop builds go wrong — not in the glue-up, but in a stack of ribs that vary by a millimetre.
Cut the skins first, from the full sheet, with the panel supported across its whole area. Then rip the ribs in one continuous session without touching the fence, so every strip is identical by definition. If your current setup fights you on long cuts or leaves tapered strips, a precision cutting setup guide is the fastest fix available — alignment and support solve more accuracy problems than any new machine.
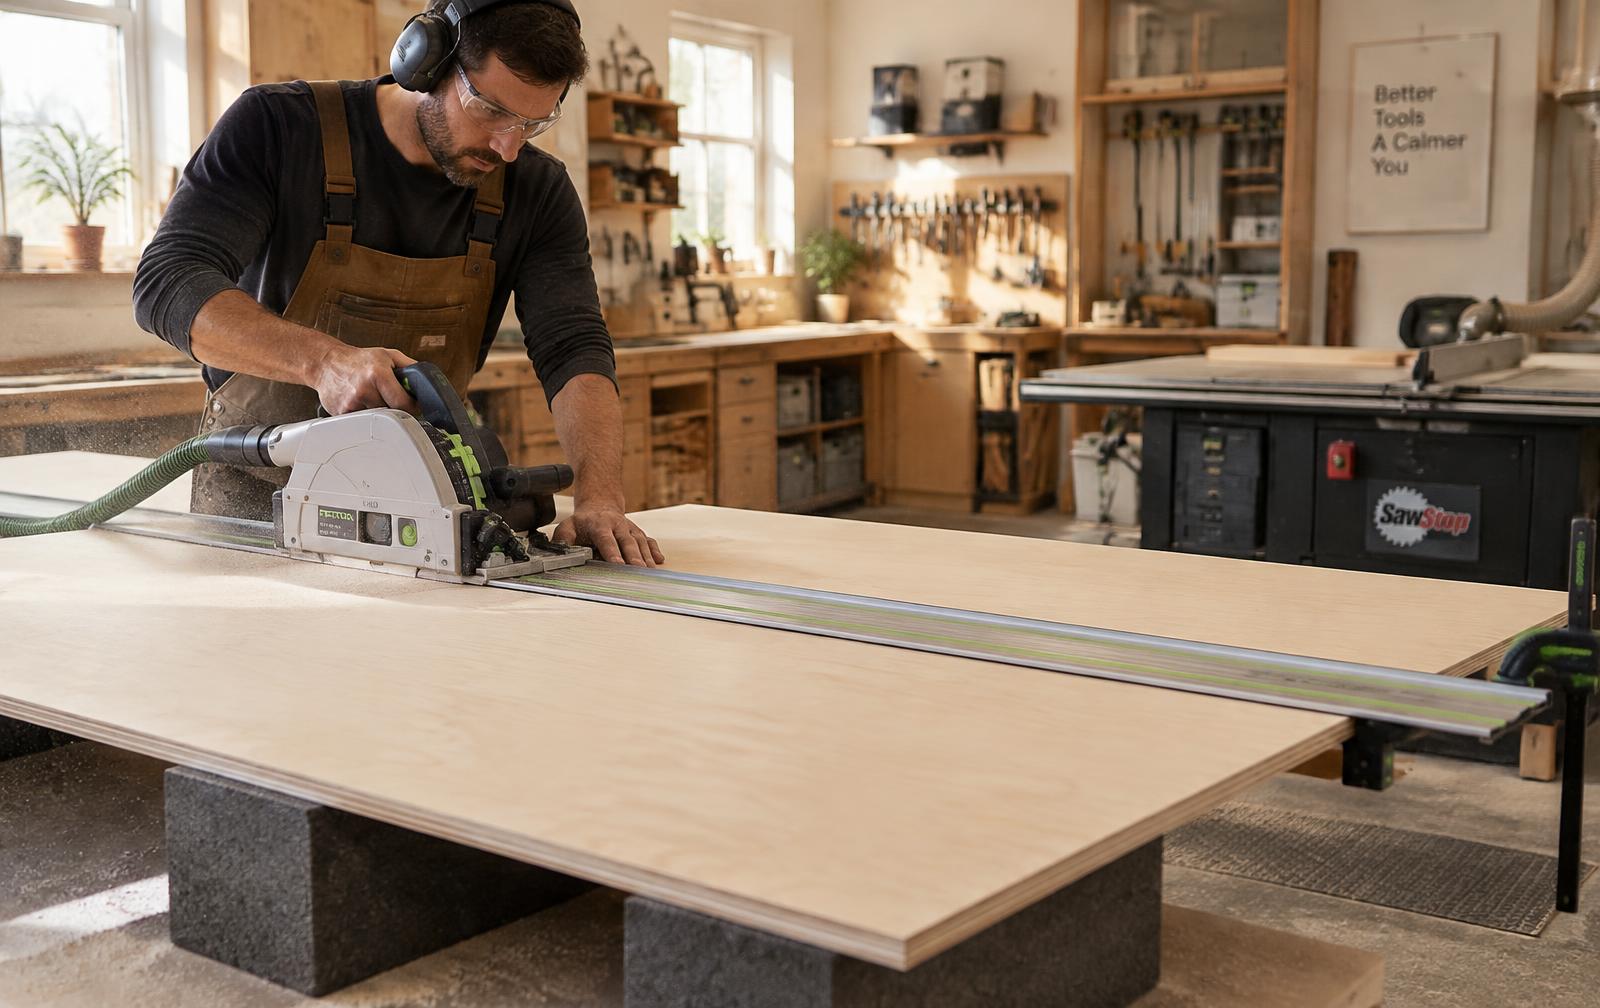
A track saw or a circular saw on a straightedge handles the sheets comfortably. A table saw is better for the ribs. If you are still weighing that decision, our comparison of the two approaches in Track Saw vs. Table Saw covers the trade-offs for a shop with room for one.
A realistic weekend sequence
Saturday morning: preparation
Level the assembly surface. Cut both skins. Rip all ribs and crosscut them to the two lengths the grid needs. Dry-lay the grid on the bottom skin and check that the outer frame is square by comparing diagonals.
Saturday afternoon: the grid
Glue and pin the perimeter frame to the bottom skin, then work inward. Half-lap notches are the traditional approach, but butt joints with glue and a few pins are entirely adequate once both skins are on. Keep every rib standing proud of nothing — the top edges must be in the same plane, so check with a straightedge as you go and plane down any high rib.
Sunday morning: closing the box
Spread glue along every rib edge, drop the top skin on, and weight it evenly. Sandbags, paint tins, or simply standing on it in stocking feet all work better than clamps, which only reach the edges. Leave it overnight if you can.
Sunday afternoon: edging and base
Trim the assembly flush, then glue solid hardwood lipping around all four edges. The lipping protects the plywood, takes knocks and dog holes, and turns a shop fixture into something that looks deliberate. A simple trestle or cabinet base finishes the job.
The bench is not the project. It is the reference every future project is measured against.
Where a torsion box is the wrong answer
It is not a universal replacement. Heavy hand-tool work — traversing a wide board with a jack plane, chopping large mortises — rewards mass, and a hollow box has little of it. The usual remedy is a heavy base with a loaded shelf underneath, which gets you most of the way. Traditional vices also need solid blocking let into the box where they mount, planned before the top skin goes on rather than discovered afterwards.
Work through the finishing questions too. A shop top wants something that resists glue and can be renewed: a thin oil, or nothing at all. Our guide to matching a finish to how a piece is used applies as much to a bench as to a table.
Safety and support
Sheet goods are awkward rather than heavy, and most injuries in this build come from unsupported panels rather than sharp edges. Cut on foam or a sacrificial grid, keep the offcut supported, wear eye and hearing protection, and extract dust at the tool — plywood dust is fine and persistent. The OSHA woodworking guidance remains a sensible overview of machine hazards.

What it costs, honestly
Two sheets of good birch plywood, glue, pins and a length of hardwood for lipping. In most regions that is a fraction of the cost of the timber for a laminated top, and it needs no jointer, no thicknesser and no long clamps. The trade is time spent cutting accurately instead of money spent on stock.
If you want the layout settled before you buy anything — bench height, base design, storage underneath — a deep library of woodworking project ideas will give you worked drawings to adapt, and if the workshop around the bench is also on the list, detailed shed and workshop plans covers the building itself.
The outlook
Expect torsion box tops to keep spreading, and not only as benches: assembly tables, outfeed tables, router table tops and finishing stations all benefit from the same geometry. As shops get smaller and sheet goods get better, a flat hollow panel is simply the most efficient way to buy accuracy. Build one carefully on a flat surface this weekend and every project after it starts from a known plane — which is the quietest, most useful upgrade a small workshop can make.