The Fifteen-Minute Sharpening System That Fixes Most Beginner Problems
Torn grain, skating planes, wandering chisels — nearly all of it traces back to an edge that went dull twenty minutes ago.
Almost every frustration a beginner blames on technique — torn grain, wandering chisels, planes that skate rather than cut — traces back to an edge that stopped being sharp twenty minutes ago.
Sharpening has a reputation for mystique it does not deserve. The goal is simple and entirely geometric: bring two flat surfaces together until the line where they meet has no width. Everything else is a matter of choosing an abrasive and holding an angle.
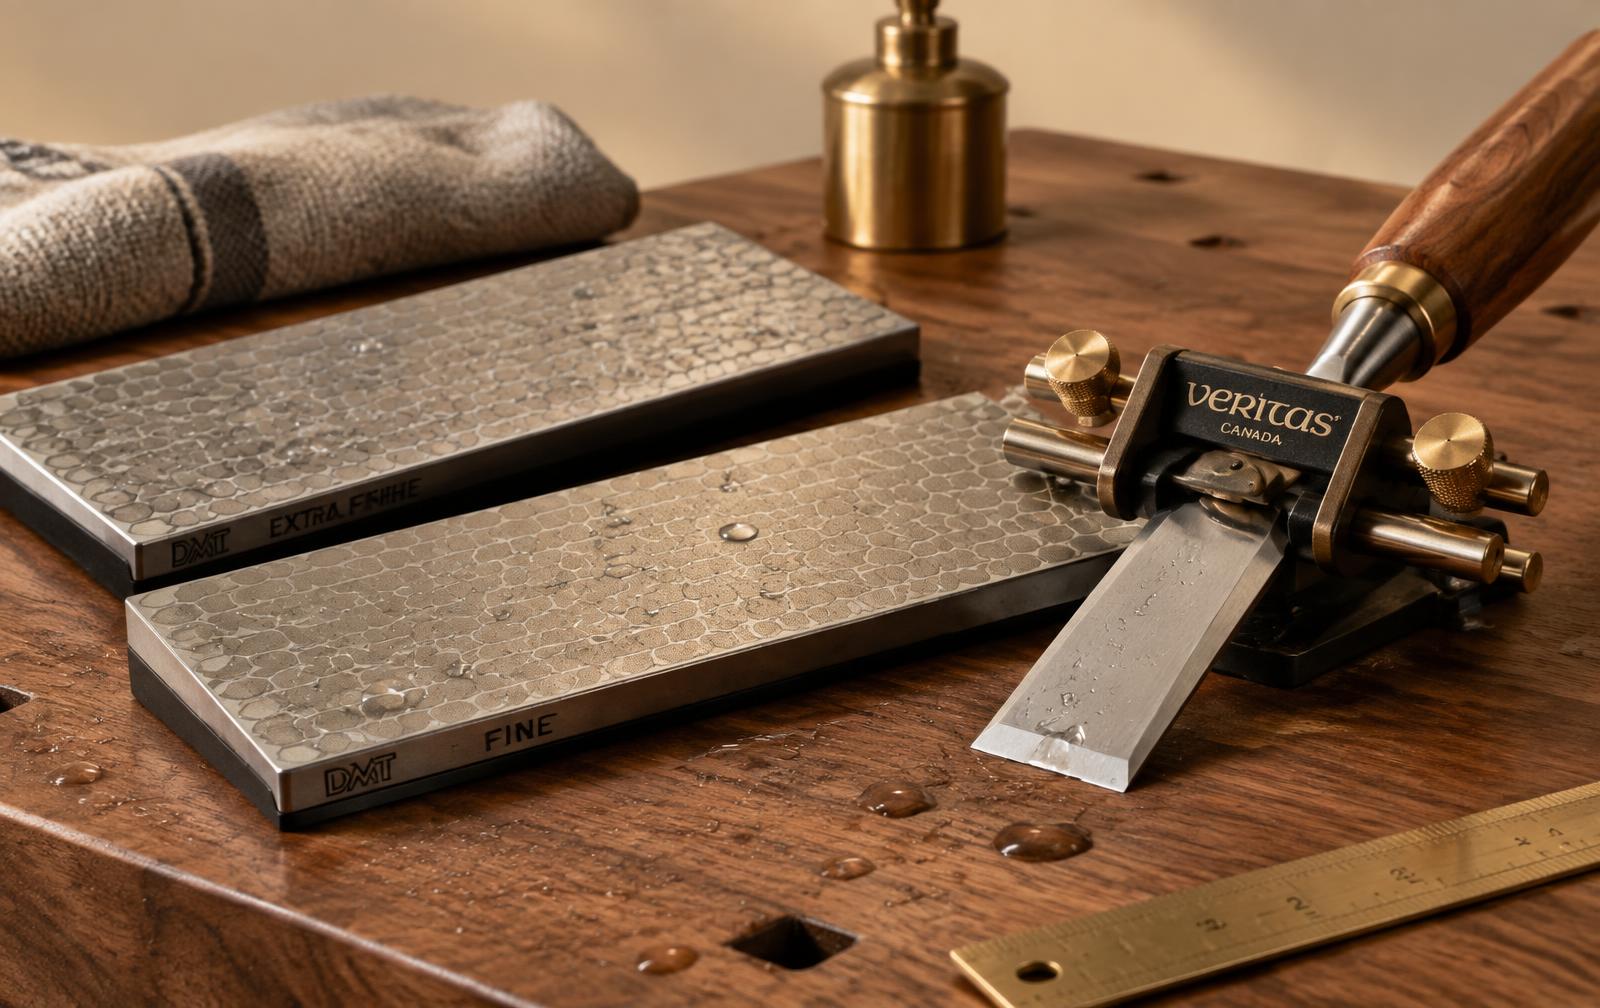
What has changed recently is the abrasive. Waterstones still cut beautifully, but they need soaking, they dish as you use them, and they must be flattened to stay honest. Diamond plates arrive flat, work with a splash of water, and cut the harder modern steels that defeat softer stones. For a weekend woodworker who wants sharpening to take two minutes rather than become a hobby of its own, the case is strong.
The three-grit system
You need fewer plates than the catalogues imply. Three grades handle every situation a hand tool will present.
Coarse: repair only
Around 250 to 400 grit. This is for fixing damage — a chipped edge, a badly ground bevel, a second-hand chisel that arrived rounded. You should reach for it rarely. If you are using coarse plates weekly, you are letting edges go too far before attending to them.
Fine: the working grade
Around 600 to 1000 grit. This is where the actual sharpening happens, and it is where most of your time goes. A few passes here restores a cutting edge from dull to keen.
Extra-fine: refinement
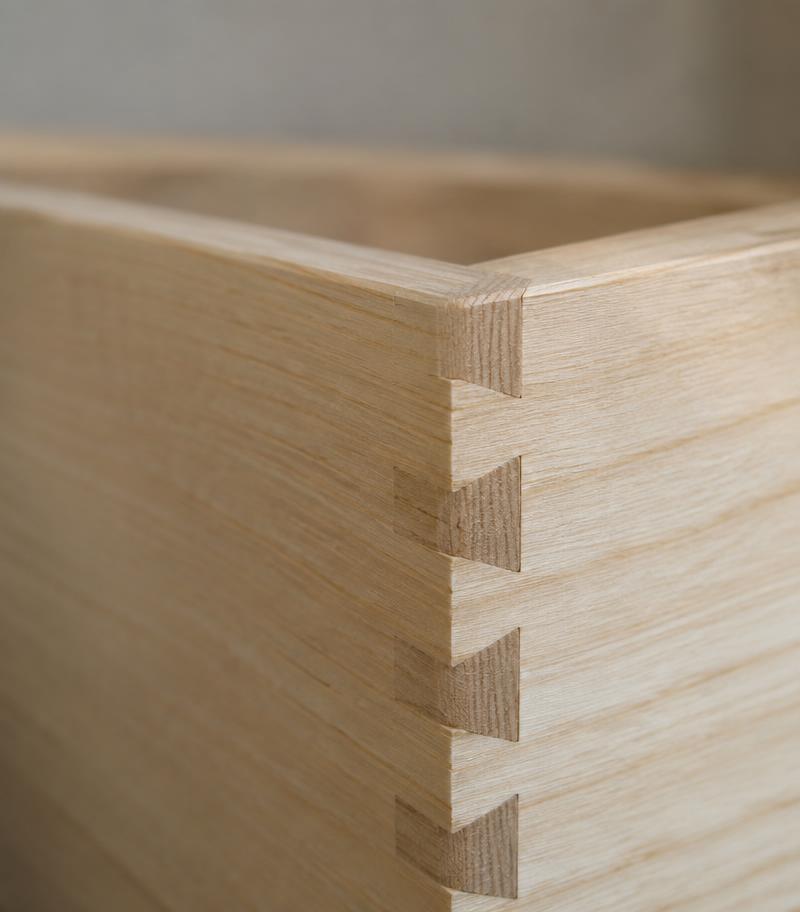
Around 1200 grit and above, often followed by a leather strop with polishing compound. This is the difference between an edge that cuts and an edge that leaves a surface needing no sanding at all — the standard that matters for the paring cuts in hand-cut dovetails.
The fifteen-minute routine
Set aside one session to bring your tools to a known state. After that, maintenance takes minutes.
Step one: flatten the back
An edge is formed by two surfaces. If the back of the chisel or plane iron is not flat near the tip, no amount of work on the bevel will produce a sharp line. Lay the back flat on the fine plate and work it until the first centimetre carries a uniform scratch pattern. You only ever have to do this once per tool.
Step two: set the angle
Twenty-five degrees suits most bench chisels and plane irons; thirty is tougher for mortising and harder timber. Clamp the tool in a honing guide, set the projection with a simple gauge or a marked block, and you will hit the same angle every time. Freehand sharpening is a fine skill to acquire later; consistency now is worth more than independence.
Step three: raise a burr, then remove it
Work the bevel on the fine plate until you can feel a wire edge on the back with your fingertip — that burr is proof the bevel has reached the very tip. Move to the extra-fine plate, take a few light passes on the bevel, then lay the back flat and take one or two passes to shear the burr away. Strop if you have one.
Step four: test honestly
Slice end grain on a pine offcut. A sharp edge leaves a shiny, uniform surface with no crushing. It will also shave hair from your forearm and catch on a thumbnail rather than skating off it. Trust the test cut over the appearance of the bevel.
If you are thinking about whether the tool needs sharpening, it already does.
Common mistakes, and what they look like
- Rounding the bevel. Rocking the tool leaves a convex bevel that never reaches a point. A guide solves it.
- Skipping the back. Endless bevel work on a tool whose back was never flattened produces no improvement.
- Starting too coarse. Deep scratches from a coarse plate take a long time to refine away. Start fine and step back only if needed.
- Working dry. A splash of water carries away steel particles; a dry plate clogs and cuts poorly.
- Waiting too long. A tool honed at the first sign of resistance takes six passes. One left until it tears grain takes sixty.
Sharpening also belongs in the safety conversation. A dull tool requires force, and force removes your ability to stop — which is precisely the condition in which hands move into places they should not. The OSHA woodworking guidance treats tool maintenance as part of safe practice, not as a separate refinement.
Where sharpening meets accuracy
A keen edge removes a great deal of guesswork, but it cannot correct a setup that is out of square. If your joints close on one side and gap on the other, the problem is reference surfaces and machine alignment rather than the edge. Working through a precision cutting setup guide will find that class of error faster than another hour at the plate — DIY Precision Cut is aimed squarely at repeatable cuts. And if you want projects that build the skill deliberately, a deep library of woodworking project ideas gives you a sequence to work through rather than a blank page.
The long view
Sharpening is the one skill that improves every other skill in the workshop. It makes hand tools pleasant, reduces the noise and dust of power tools, and quietly raises the standard of everything you make. Diamond plates simply lower the barrier: no soaking, no flattening, no ritual. Two minutes at the bench, and the tool tells the truth again.
Set your three plates somewhere you pass constantly — not in a drawer. The entire habit depends on the tools being easier to sharpen than to struggle with.