The Year-Round Workshop Shed: Build the Envelope Before You Buy the Machines
A modern timber workshop succeeds or fails in the layers you cannot see. A practical guide to insulation, moisture, ventilation, power, and lasting comfort.
A beautiful workshop shed can still be unusable for half the year. The real measure of the building is whether the tools stay dry, timber stays stable, and you want to enter it on a wet January morning.
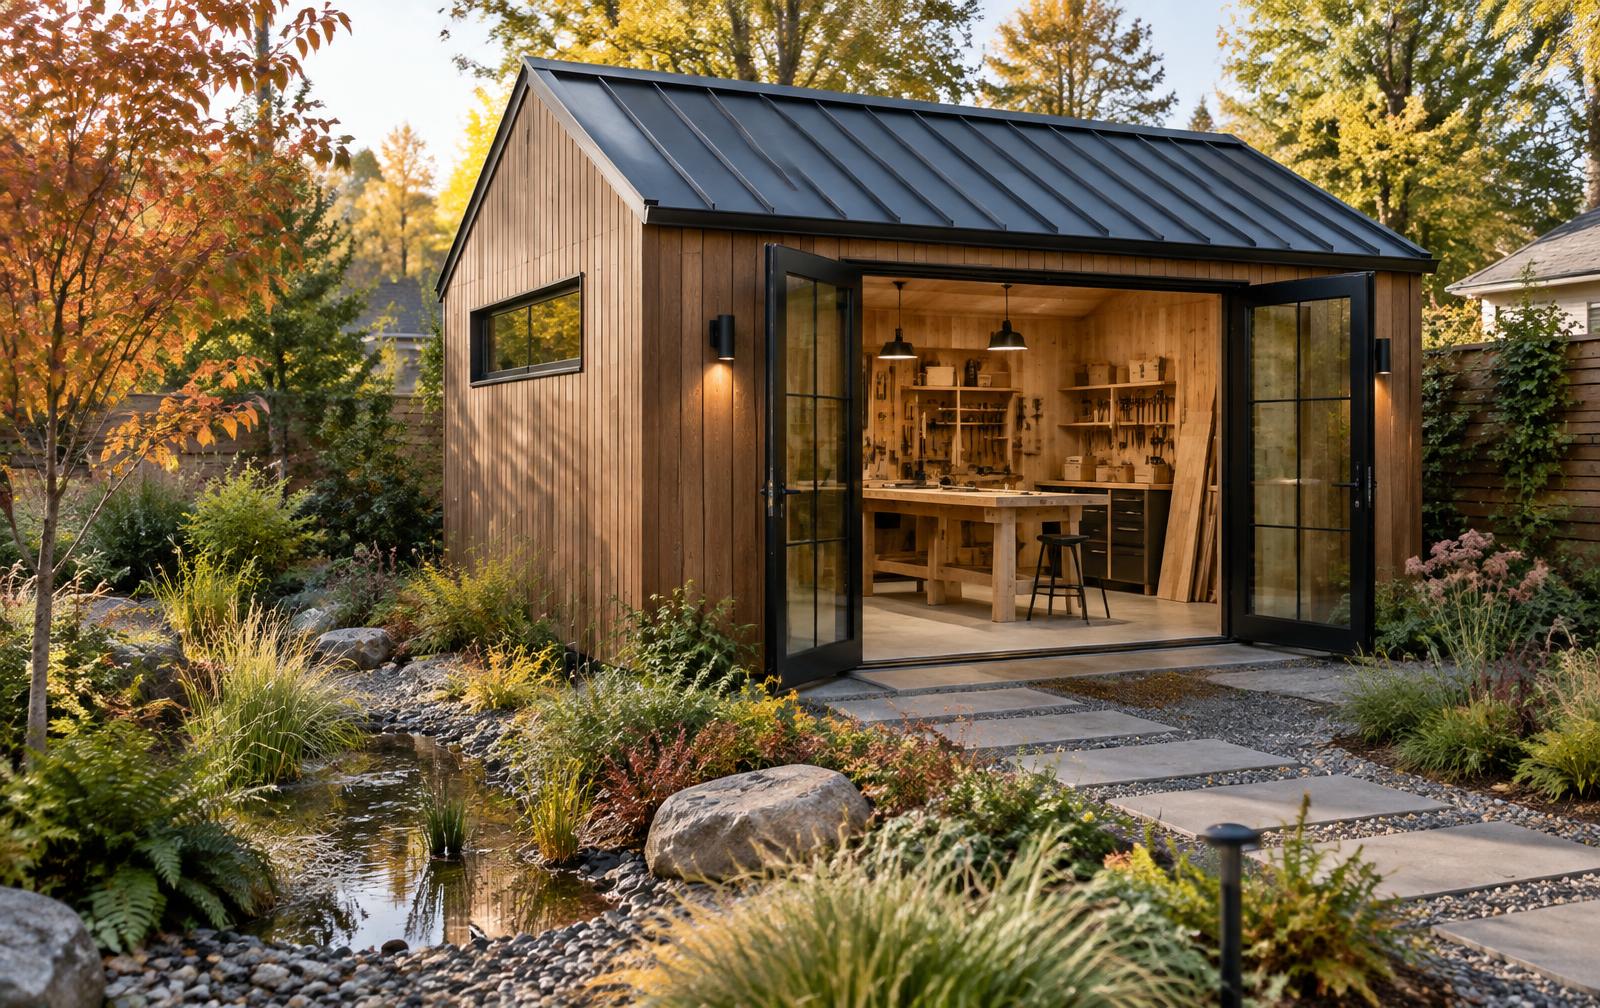
Backyard workshops are becoming more architectural, with thermally modified cladding, large glazed doors and compact dark roofs. Yet the important developments are hidden: better airtightness, continuous insulation, controlled ventilation and foundations designed to keep both people and machines away from damp ground.
Building those layers in the correct order costs less than correcting condensation after cabinets, wiring and machines are installed.
Begin with the use, not the appearance
Write down the largest machine, longest board and most demanding finishing process the shop will handle. Those three facts decide door width, internal clearances, electrical load and ventilation. A building for hand tools can be compact and quiet. A shop with a table saw or planer needs infeed and outfeed paths longer than the machine footprint suggests.
Local planning and building rules vary, especially where electrical work, height, boundary distance or permanent heating are involved. Check the relevant authority before ordering materials. A plan sold online is a starting geometry, not permission to build.
Keep ground moisture outside
Many workshop problems begin below floor level. Timber skids placed close to soil stay damp. Thin concrete slabs transmit ground moisture. Uninsulated floors create cold surfaces where humid air condenses, and every cast-iron top nearby records the mistake as rust.
A durable assembly raises the timber structure clear of splashback, includes a continuous damp-proof layer, directs water away from the perimeter and allows the cladding base to dry. Insulate between or above floor joists and protect the underside from rodents and wind washing. Rigid insulation above a slab offers an even thermal layer but must be specified for the expected load.

The wall assembly that stays dry
Insulation slows heat flow; airtightness controls air leakage; a vapour-control layer limits moisture movement; the external weather layer stops rain while allowing the assembly to drain and dry. They are related but not interchangeable.
The safest arrangement depends on climate. In heating-dominated regions, the vapour-control layer is commonly placed toward the warm interior. In hot, humid regions with air-conditioning, the direction may reverse. Follow a locally appropriate tested wall assembly rather than copying a detail from another climate zone.
Why continuous insulation matters
Insulation fitted only between timber studs leaves every stud as a thermal bridge. A continuous external or internal layer reduces those cold stripes, improves comfort and lowers condensation risk. It also protects tools stored against outside walls from local temperature swings.
Choose materials by the assembly
- Mineral wool: non-combustible, sound absorbing and tolerant of irregular bays.
- Wood-fibre board: good summer heat buffering and compatible with vapour-open construction.
- Rigid foam: high insulating value for limited thickness, but requires careful fire and moisture detailing.
- Closed-cell spray foam: seals complex spaces but is difficult to alter and can conceal leaks if used thoughtlessly.

Heat steadily, ventilate deliberately
Intermittently blasting a frozen shop with heat can create condensation because metal machines warm more slowly than the air. A low steady background temperature, raised while the space is occupied, is gentler on tools and timber. Electric radiant panels, compact heat pumps and properly installed electric heaters can all work; combustion heaters add moisture and require particular care.
Airtight does not mean unventilated. People, wet timber and finishes release moisture, while sanding and machining release fine dust. Source extraction handles the machines. Background ventilation handles humidity and stale air. In a highly insulated shop, a small heat-recovery ventilator can exchange air while retaining much of its heat.
Keep finishing ventilation separate from dust-producing operations and follow product safety sheets. Never assume a household fan is suitable around flammable vapours.
Daylight without sacrificing the workshop
Windows improve accuracy, mood and colour judgment, but glass consumes the wall space needed for storage and loses more heat than an insulated wall. Put the best daylight beside or in front of the bench rather than behind the worker. High windows preserve privacy and storage below. Roof lights give even illumination but demand excellent flashing and summer shading.
Use layered electric lighting: broad ambient light, shadow-free task light at the bench, and adjustable light at machines. Choose accurate colour rendering for finishing work. Avoid relying on one bright fixture in the centre; your body will cast a shadow exactly where the cut is happening.

Plan services before the lining goes on
Map every socket, light, extractor route and future machine before closing the walls. Provide more circuits than the first tool list appears to need, and have electrical work designed and installed to local requirements. Keep outlets above bench height where they remain visible and free from floor dust.
Run smooth extraction ducts by the shortest path and avoid burying service points that will need cleaning. Leave accessible routes for network cabling, security and a temperature or humidity sensor. Photograph every open wall with a tape measure visible before lining it; that record is invaluable when a cabinet is added later.
A realistic build sequence
- Confirm permissions, drainage, access and the required internal clearances.
- Build the foundation and floor as a moisture-controlled insulated assembly.
- Frame, weatherproof and dry the shell before installing insulation.
- Complete first-fix electrical, extraction and ventilation routes.
- Install airtightness and vapour-control layers appropriate to the climate.
- Line the interior with a durable, screw-friendly surface such as plywood where suitable.
- Commission heat, ventilation and extraction before moving machines inside.
The cheapest time to solve heat, moisture and power is while the structure is still open.
What to spend on first
Prioritise the parts that cannot be reached later: foundation drainage, floor insulation, roof, weather barrier, wiring capacity and ventilation routes. Interior cabinetry, decorative cladding and premium fixtures can wait. A modest shell with a sound envelope will outperform an expensive room built over a cold wet base.
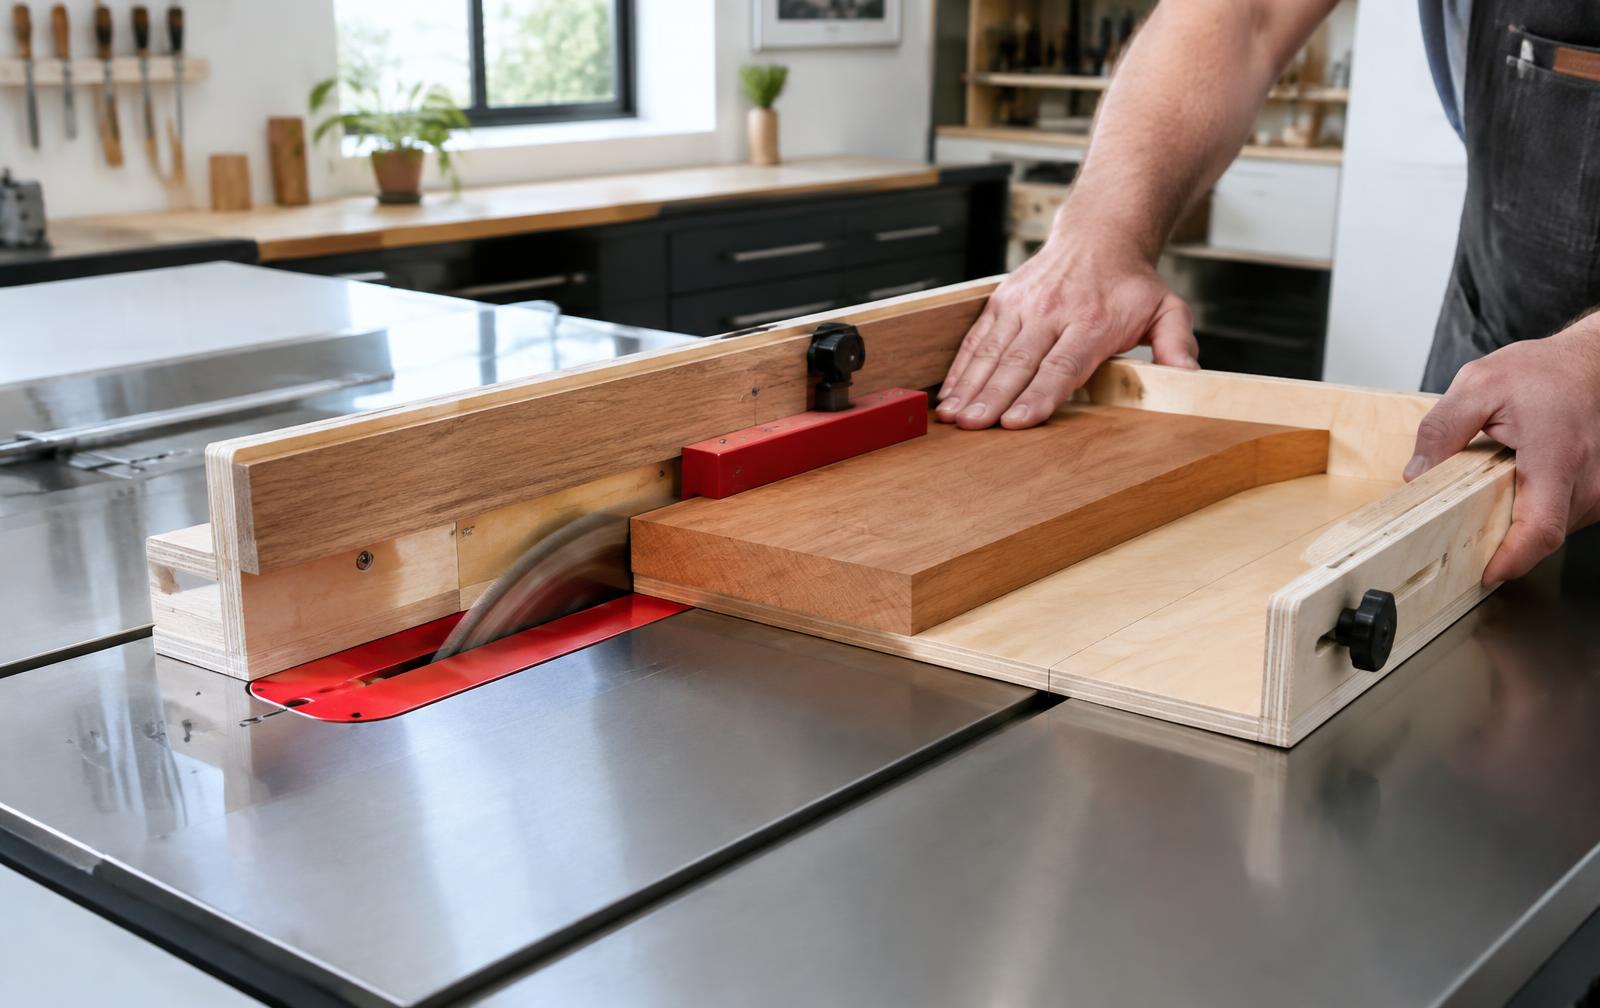
For complete workshop layouts and material lists, detailed shed and workshop plans is the closest match. Once the room is ready, a deep library of woodworking project ideas supplies projects to justify it, while a precision cutting setup guide helps turn the stable environment into more reliable cuts.
Design for timber movement and machine stability
A workshop is a material-conditioning room whether intended or not. Timber exchanges moisture with the air until it reaches equilibrium, changing width as it does. Large daily humidity swings make furniture parts move between milling and assembly. A modestly heated, ventilated and monitored shop keeps stock closer to the conditions in which the finished object will live.
Place a simple temperature and humidity monitor away from heaters and windows. Record seasonal highs and lows before storing expensive hardwood. Keep boards stickered with air between layers and raised from the floor. Allow newly delivered material to acclimatise before final milling. Stable storage often improves accuracy more than a more expensive machine.
Machine stability begins with the floor. A springy timber deck can be perfectly strong yet allow a tall bandsaw or drill press to vibrate. Short joist spans, adequate section sizes, blocking and a stiff structural deck matter. Concentrated loads from heavy machines should be allowed for in the design, not discovered after the building is finished.
Control summer heat as carefully as winter cold
Highly insulated sheds can overheat quickly when glazing faces the afternoon sun. External shading is more effective than an internal blind because it stops solar energy before it crosses the glass. Deciduous planting, a roof overhang or a simple exterior screen can preserve winter light while controlling summer gain.
Roof assemblies receive the greatest solar load. A ventilated roof cavity, suitable reflective layer where locally appropriate, and enough insulation reduce the peak. Light-coloured roof finishes can help in hot climates. Night purging—securely ventilating after sunset—cools the building fabric before the next day, provided outdoor humidity is not excessive.
Make doors part of the climate strategy
Wide doors are useful for sheet goods and finished furniture, but every opening is also a potential air leak and water path. Specify proper thresholds, compression seals and adjustable hinges. A smaller everyday door prevents losing all the warm air whenever one person enters. If large glazed doors are central to the design, choose performance appropriate to the climate and provide a secure way to shade them.
Plan a dry landing outside the threshold. Gravel, paving and roof drainage prevent mud and splashback, while a level approach lets machines and cabinets roll without a dangerous step. Exterior lights should illuminate the path and lock without shining into neighbours’ windows.
Separate clean work from dirty work
Even one room can have zones. Put milling machines and extraction near the main doors, where long stock can pass and chips are easiest to remove. Keep the bench in good side light. Reserve the furthest, cleanest corner for assembly and finishing. A ceiling curtain or movable screen can temporarily isolate dust during finishing without permanently dividing the space.
Store solvents and oily materials in suitable closed storage, away from heat and ignition sources. Lay oil-soaked rags flat to cure safely or place them in an appropriate closed metal container according to product guidance. Keep a suitable extinguisher near the exit, not behind the machine where a fire is most likely to begin.
Soundproof without trapping moisture
Insulation alone does not make a quiet shop. Sound control needs mass, airtightness and separation. Seal gaps, use a dense inner lining, and decouple layers where noise is a major concern. The door and ventilation openings are usually the weakest points. A quiet fan with lined, baffled ducts can move air without creating a direct sound tunnel outdoors.
Mount extractors and compressors on isolation pads and avoid fixing vibrating equipment directly to lightweight wall panels. Arrange machines so blades and exhaust ports point away from neighbouring homes. These measures improve the relationship with neighbours and make the room less tiring during long sessions.
Commission the building before trusting it
When construction is complete, run the shop through a controlled test. Heat it from a cold start and watch how evenly surfaces warm. Operate extraction with doors closed and confirm replacement air is adequate. Check windows, corners and metal tables the following morning for condensation. Use a smoke pencil or thin paper strip to find uncontrolled drafts around doors and service penetrations.
Then test the electrical system under realistic simultaneous loads with the installer’s guidance: extraction, a major machine, lighting and heating. Label circuits clearly. Confirm that emergency access remains open when the longest board is on the machine. A drawing can miss conflicts that a physical rehearsal finds immediately.
Maintain the envelope, not only the tools
Inspect roof edges, gutters, seals and cladding clearances each autumn. Clean ventilation filters and extractor ducts. Look behind low cabinets for mould or rust, which can reveal a cold bridge or hidden leak. Recoat exposed timber before weathering opens cracks. Small annual corrections prevent the expensive cycle of removing interior lining to repair concealed damage.
Keep a building notebook with paint, membrane and insulation specifications, wiring photographs, filter sizes and maintenance dates. Future alterations become safer when the hidden structure is known. If the workshop is eventually sold or repurposed, that record demonstrates that the building was designed as a system rather than assembled as a collection of finishes.
The five-year view
Allow one wall, one circuit and part of the extraction route to remain expandable. Machines change, working habits mature and a hand-tool shop may gain digital equipment. The strongest building is not the one planned around a perfect first layout; it is the one that accepts the second layout without cutting through its moisture or airtightness layers.
A year-round workshop rewards restraint. Spend first on the ground, roof and envelope, then on safe services, then on light and storage. Machines come last. That order feels backwards while catalogues are open, but it is what makes every later purchase perform as intended through winter, summer and the many weekends between.
The direction is clear: the best backyard workshops are becoming small high-performance buildings rather than decorated sheds. That investment is not only about comfort. Stable temperature and humidity protect timber, batteries, adhesives, finishes and machines. Build the invisible layers well, and the workshop will feel ready whenever the weekend begins.