The Backyard Shed Office: How to Build One in Eight Weekends
A practical plan for turning a corner of the garden into a quiet, insulated room — from permitted development checks to fitted joinery.
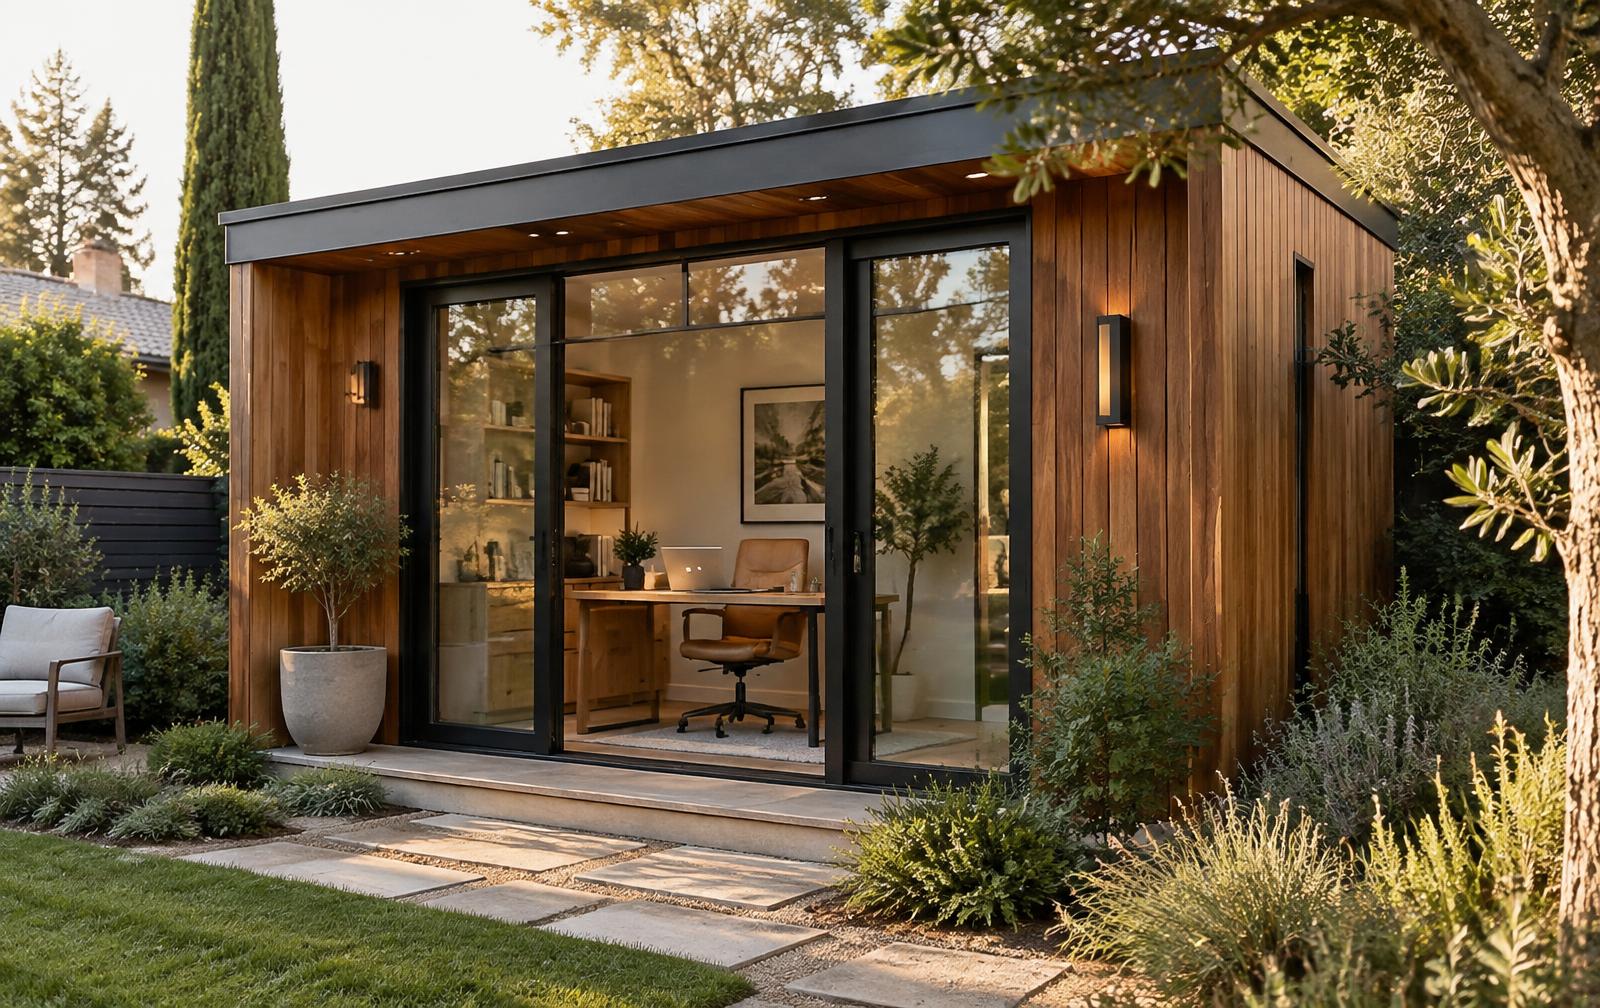
The garden shed has quietly become the most requested weekend build of the year. Not a place for rakes and paint tins — a quiet, insulated room at the end of the lawn, with power, daylight and a door that closes on the rest of the house.
The appeal is easy to explain. Hybrid work never went away, spare bedrooms were reclaimed, and a detached room is usually far cheaper and far less disruptive than an extension. It also happens to be a project a careful amateur can build across a series of weekends, provided the planning is done before the timber arrives.
Why the shed office keeps trending
Three forces are pushing the trend. First, a detached garden room does not usually touch the existing structure of the house, so the work is simpler and the mess stays outside. Second, off-the-shelf insulation, cladding and double-glazed door sets have made a comfortable year-round interior achievable without specialist trades. Third, a well-built garden room is visible, usable value — a room you sit in every day rather than a detail nobody notices.
The failures are just as predictable: damp floors, condensation behind the cladding, an extension lead snaking across the lawn, and a footprint chosen by guesswork. Every one of those is a planning problem, not a carpentry problem.
Start with the rules, not the drawings
Before anything else, confirm what you are allowed to build. In England and Wales, many garden outbuildings fall under permitted development, but the allowances are specific about height, proximity to boundaries, and the proportion of the garden you may cover — and they change for listed buildings and conservation areas. The Planning Portal outbuildings guidance is the authoritative starting point. In the United States, rules are local: many jurisdictions exempt small accessory structures from a building permit but still enforce setbacks, and an office with power and permanent use is often treated differently from a storage shed. Call the local building department and ask the question plainly.
Settle this first. A 12 ft structure moved two feet for a setback is a phone call. The same structure moved after the base is poured is a weekend lost and a base wasted.
Choosing a footprint you will not regret
Most people over-plan the exterior and under-plan the inside. Work the other way around. Lay the furniture out on paper first: desk depth, chair travel, a bookcase, and somewhere to stand up and stretch.
- 8 x 10 ft — a single desk, one wall of shelving, and little else. Fine for a laptop and a notebook.
- 10 x 12 ft — the sweet spot. A generous desk, storage, a second chair, and room that still feels like a room.
- 12 x 16 ft — two workstations, or a desk plus a workbench. Expect stricter permitting at this size.
Then check the number against sheet goods. Designing around 4 x 8 ft sheets and standard stud spacing cuts both waste and cutting time. This is where a proper drawn plan earns its keep: detailed shed and workshop plans give you framing layouts and material lists already reconciled with standard stock, which is a far better starting point than a sketch on graph paper. My Shed Plans is the resource we point readers to most often for exactly this stage.
The base carries everything
Nearly every long-term complaint about a garden room traces back to the ground. A base must be level, drained, and isolated from ground moisture. Three approaches dominate:
Concrete slab
The most permanent and the most work. Excavate, compact hardcore, lay a damp-proof membrane, and pour. It suits heavy structures and sloping ground where formwork can correct the level.
Concrete pier or deck block
Beams sit on discrete piers with an air gap beneath the floor. Fast, forgiving on cost, and it keeps timber clear of standing water. Accuracy in setting the piers is everything, so measure the diagonals and prove the rectangle is square before the concrete cures.
Screw pile or ground screw
Steel screws driven into the ground, then a timber frame bolted on top. Minimal excavation, quick installation, and a good answer for tree roots or a garden you would rather not dig up.
Whichever you choose, keep the finished floor clear of the surrounding soil level and give water somewhere to go. A base that ponds after heavy rain will eventually find a way into the structure.
Building an envelope that stays comfortable
A shed office is only worth having if it is usable in January and July. Treat the floor, walls and roof as a single system — insulating two of the three simply moves the cold spot.
- Insulate between and, where depth allows, across the studs to reduce thermal bridging through the framing.
- Install a continuous vapour control layer on the warm side and tape the joints properly.
- Leave a ventilated cavity behind the cladding so the outer skin can dry.
- Specify double glazing; a large single-glazed door will undo a well-insulated wall.
Condensation, not rain, causes most of the damage in small garden buildings. Warm, moist indoor air meeting a cold surface inside the wall is the mechanism, and a sealed vapour layer plus a ventilated cavity is the fix.

Power, light and the internet
An extension lead across the lawn is a temporary answer that tends to become permanent. Plan for a dedicated, correctly rated circuit run in armoured cable, terminated in a small consumer unit inside the room. In most jurisdictions this is regulated work — have a qualified electrician design and certify it.
While the walls are open, run more than you think you need: several socket positions, a data cable to the house, and separate lighting circuits. Layer the lighting rather than relying on one central fitting — ambient light overhead, a task lamp at the desk, and if you can, glazing on two aspects so the room is not lit from a single direction all day.
The interior is the part you actually live with
Once the envelope is closed, the build becomes furniture making. Fitted desks, a shallow shelf across a window wall, a cable tray behind the desk, and a shallow cupboard for the printer will do more for daily comfort than any exterior detail.
Keep the joinery simple and well-executed: square carcasses, consistent reveals, and a hard-wearing finish. If you want the fit-out to feel designed rather than assembled, working from proven project drawings helps — a deep library of woodworking project ideas is a reasonable place to find desk, shelving and storage projects sized for small rooms.
A garden office is judged from the inside. Spend the budget where your hands and eyes land every day.
A realistic weekend sequence
- Weekend one: confirm rules, finalise the plan, order materials.
- Weekend two: set out, excavate, build the base.
- Weekend three: floor deck and wall frames.
- Weekend four: roof structure, membrane, and get it watertight.
- Weekend five: windows, door, cladding.
- Weekend six: insulation, vapour layer, first fix electrics.
- Weekend seven: linings, decorating, second fix.
- Weekend eight: fitted joinery and move in.
Eight working weekends is a fair estimate for a competent builder with occasional help. Weather will interrupt it, so front-load the groundwork and reach watertight as early as you can.
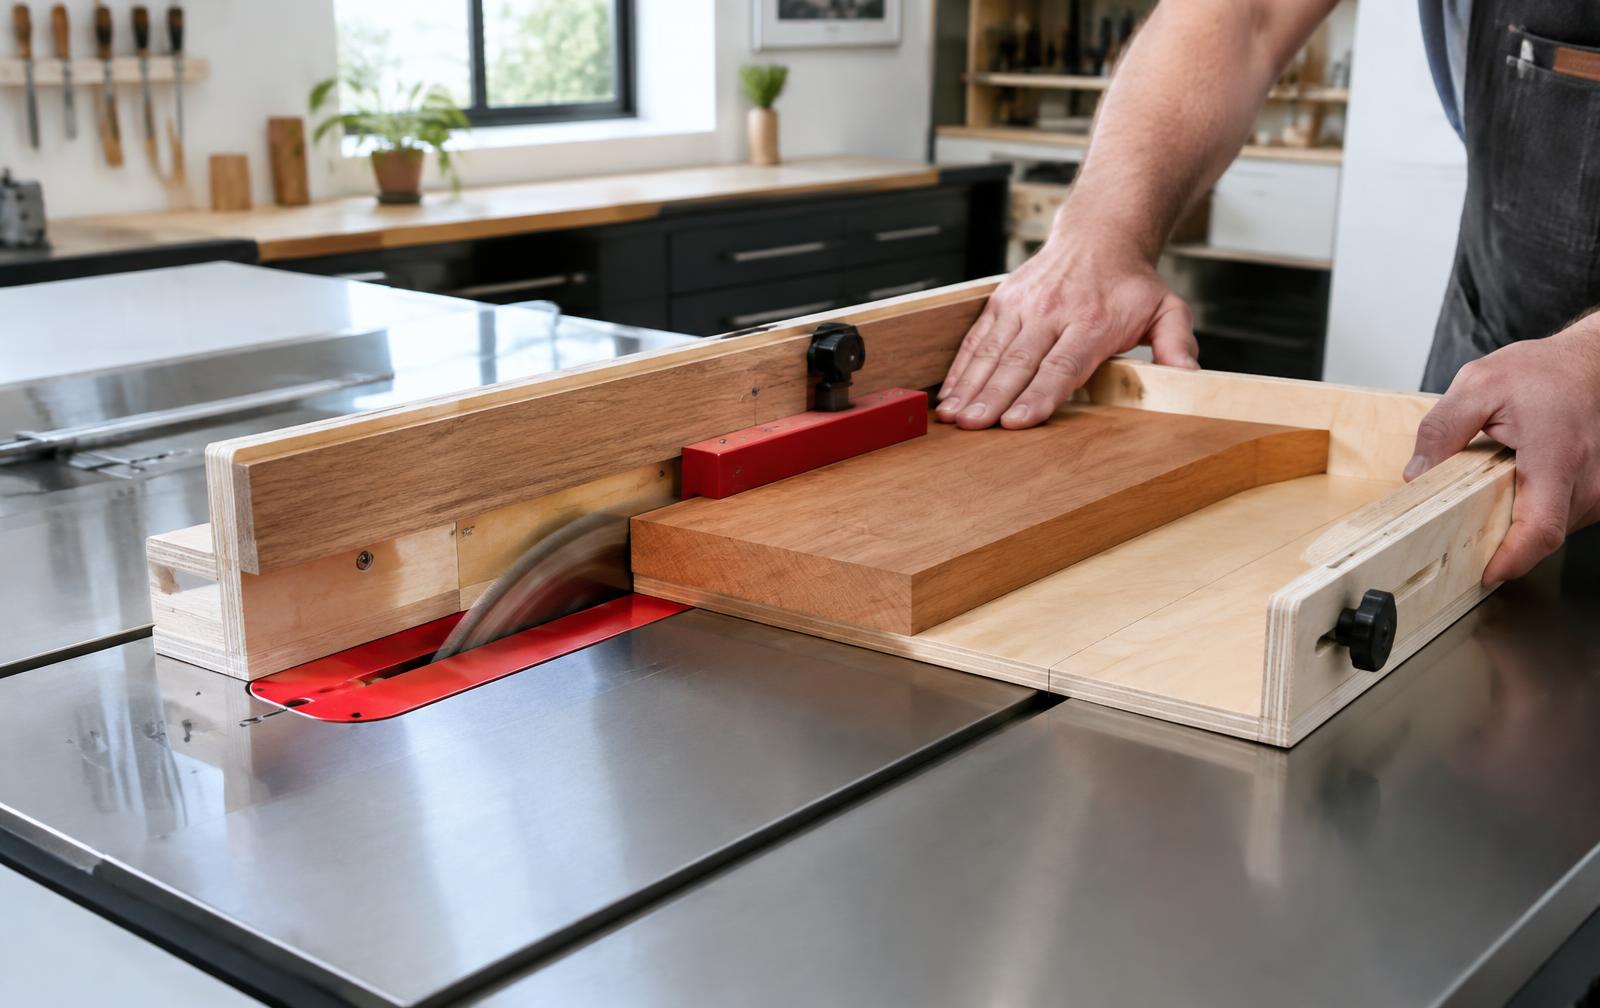
Two other resources are worth a look before you start: a precision cutting setup guide for the cutting accuracy the fitted joinery will demand, and a deep library of woodworking project ideas for the desk, shelving and storage that turn the shell into a room.
Budget honestly
Costs vary widely by region and specification, so treat any headline figure with suspicion. Build your own estimate from the base, structural timber, glazing, insulation, cladding, roof covering, electrical work and interior finishes — then add a contingency of around fifteen percent. Glazing and electrical certification are the two line items that most often surprise first-time builders.
The outlook
Garden rooms are unlikely to fade while hybrid working holds. What is changing is the standard: buyers and builders increasingly expect the insulation, airtightness and glazing quality of a proper room rather than a summerhouse with a desk in it. Build to that standard and the room stays useful in every season — and remains an asset rather than an apology at the bottom of the garden.